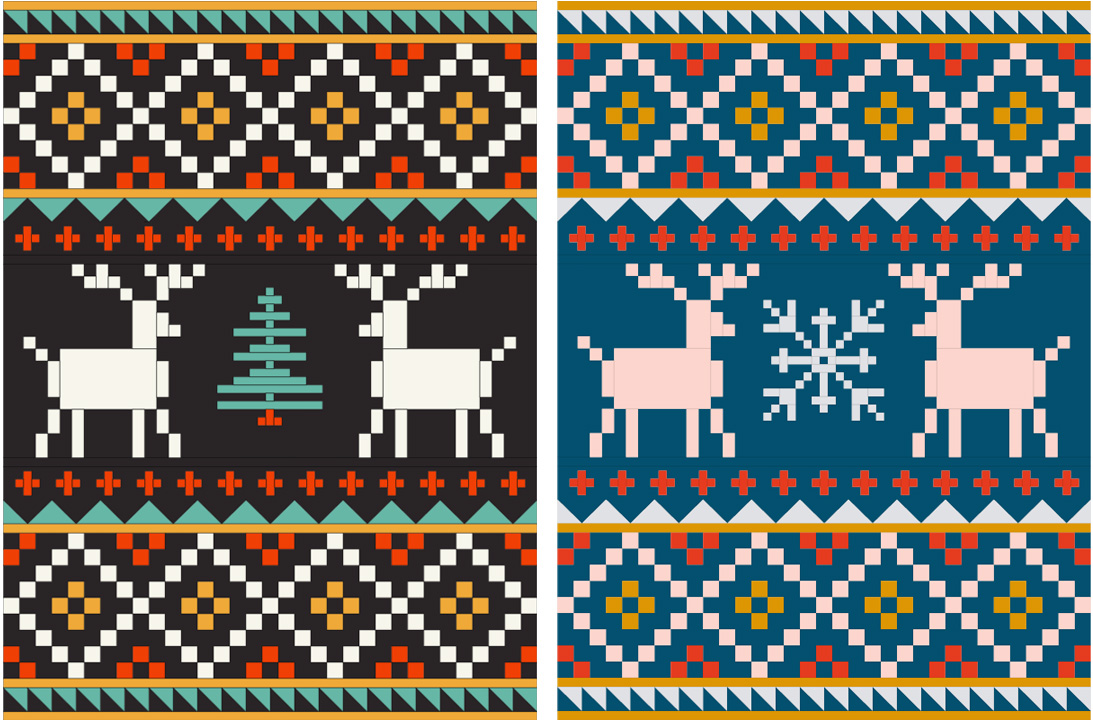
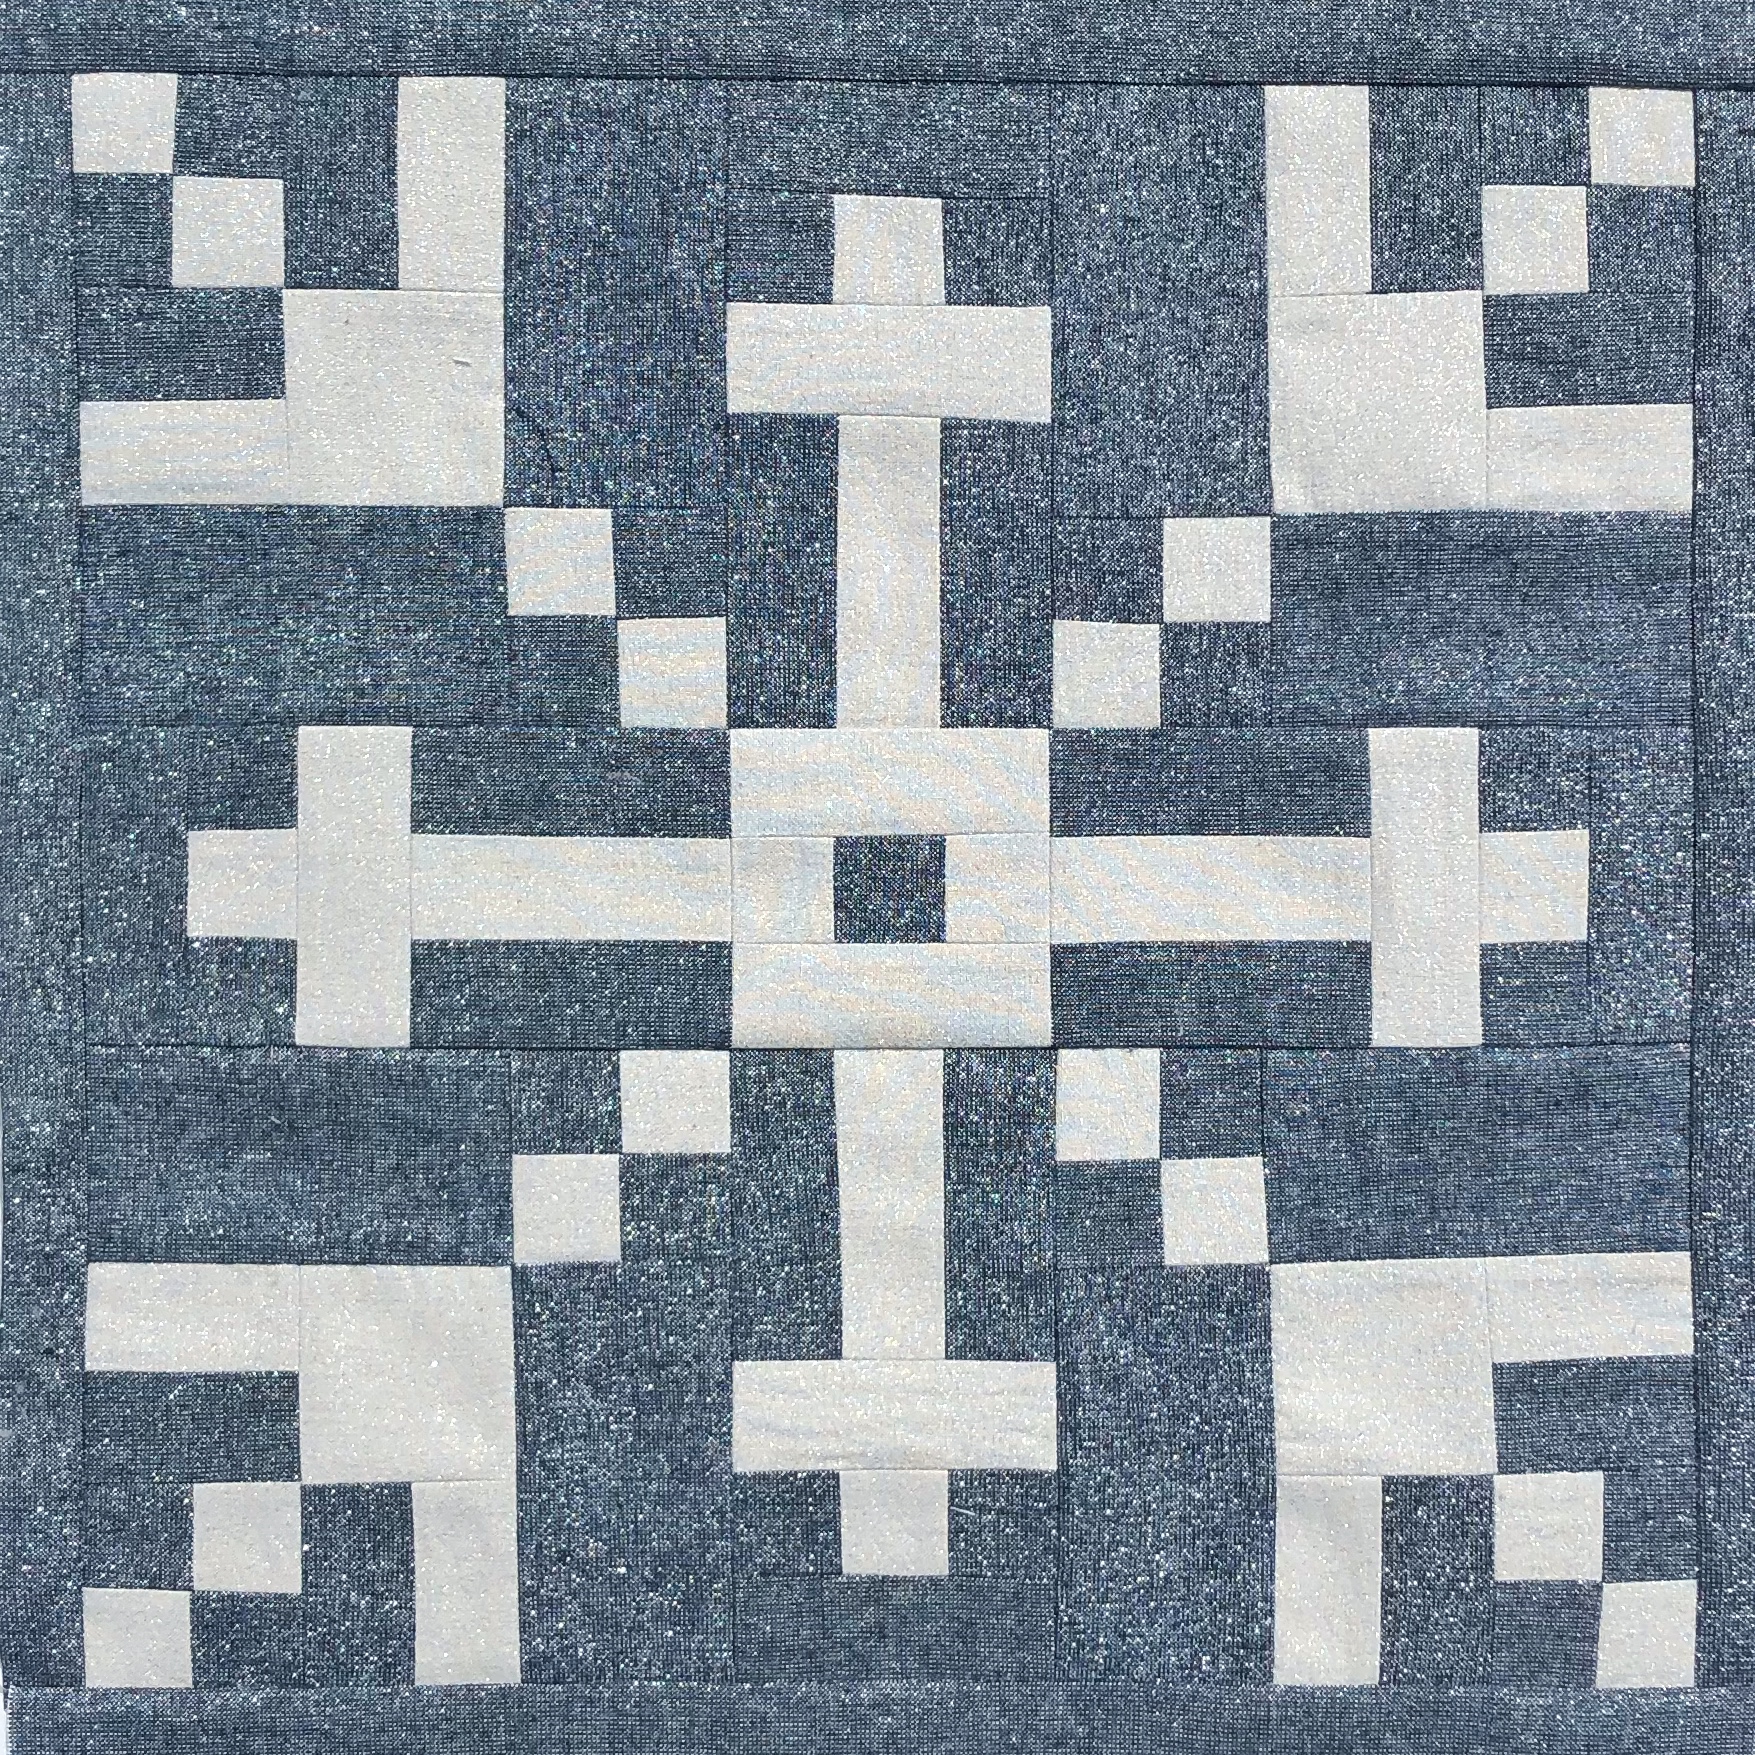
Happy June quilt along friends. I hope this post finds you happily sewing the day away. This month’s block is the tree or the snowflake for the center of the quilt. And we’ll be assembling the center panel ahead of next month’s quilt top assembly. We’re almost there folks!
One of my favorite things about this quilt is the option to choose the center block. It makes the quilt even more versatile in terms of theme and design. The cover quilt for this pattern, for example, uses a tree center and I think of it as a cozy cabin quilt. But my current version, I’m doing the snowflake, and that feels much more winter or holidays to me.

Also, just like the reindeer, I think the tree or the snowflake block on their own would make an adorable pillow. I think I’ll make another snowflake this winter to have on my couch. Or I was also thinking the tree would be so sweet with appliquéd ornaments on it for the holiday season!
I’m guessing most of you have already decided what center motif you’d like for your quilt. But if you haven’t yet I will tell you that the tree is easier to piece and it goes together a lot faster than the snowflake. Not that the snowflake is difficult, but similarly to the reindeer, there is just a lot of pieces and orientations to keep track of as you go.
One thing about getting to the end of a quilt along is I feel like I’ve already given out all my tips and tricks for putting these blocks together. So if you haven’t read the previous posts, I’d encourage you to check them out! The tree block is mostly just sewing long strips together, so if you’d made it this far in the quilt, I know you will have no problem with that!

The snowflake is a bit trickier and I wrote a few notes down as I was making it. So I’ll leave them here for you in case you find them helpful.
Like I said above, the snowflake comes together easily, but i just requires lots of paying attention. I know for me, I have some days I just want to mindlessly sew and this is not for one of those days. The good news is that it goes together in a few hours, so I tackled it on a good brain day and it was fine 🙂
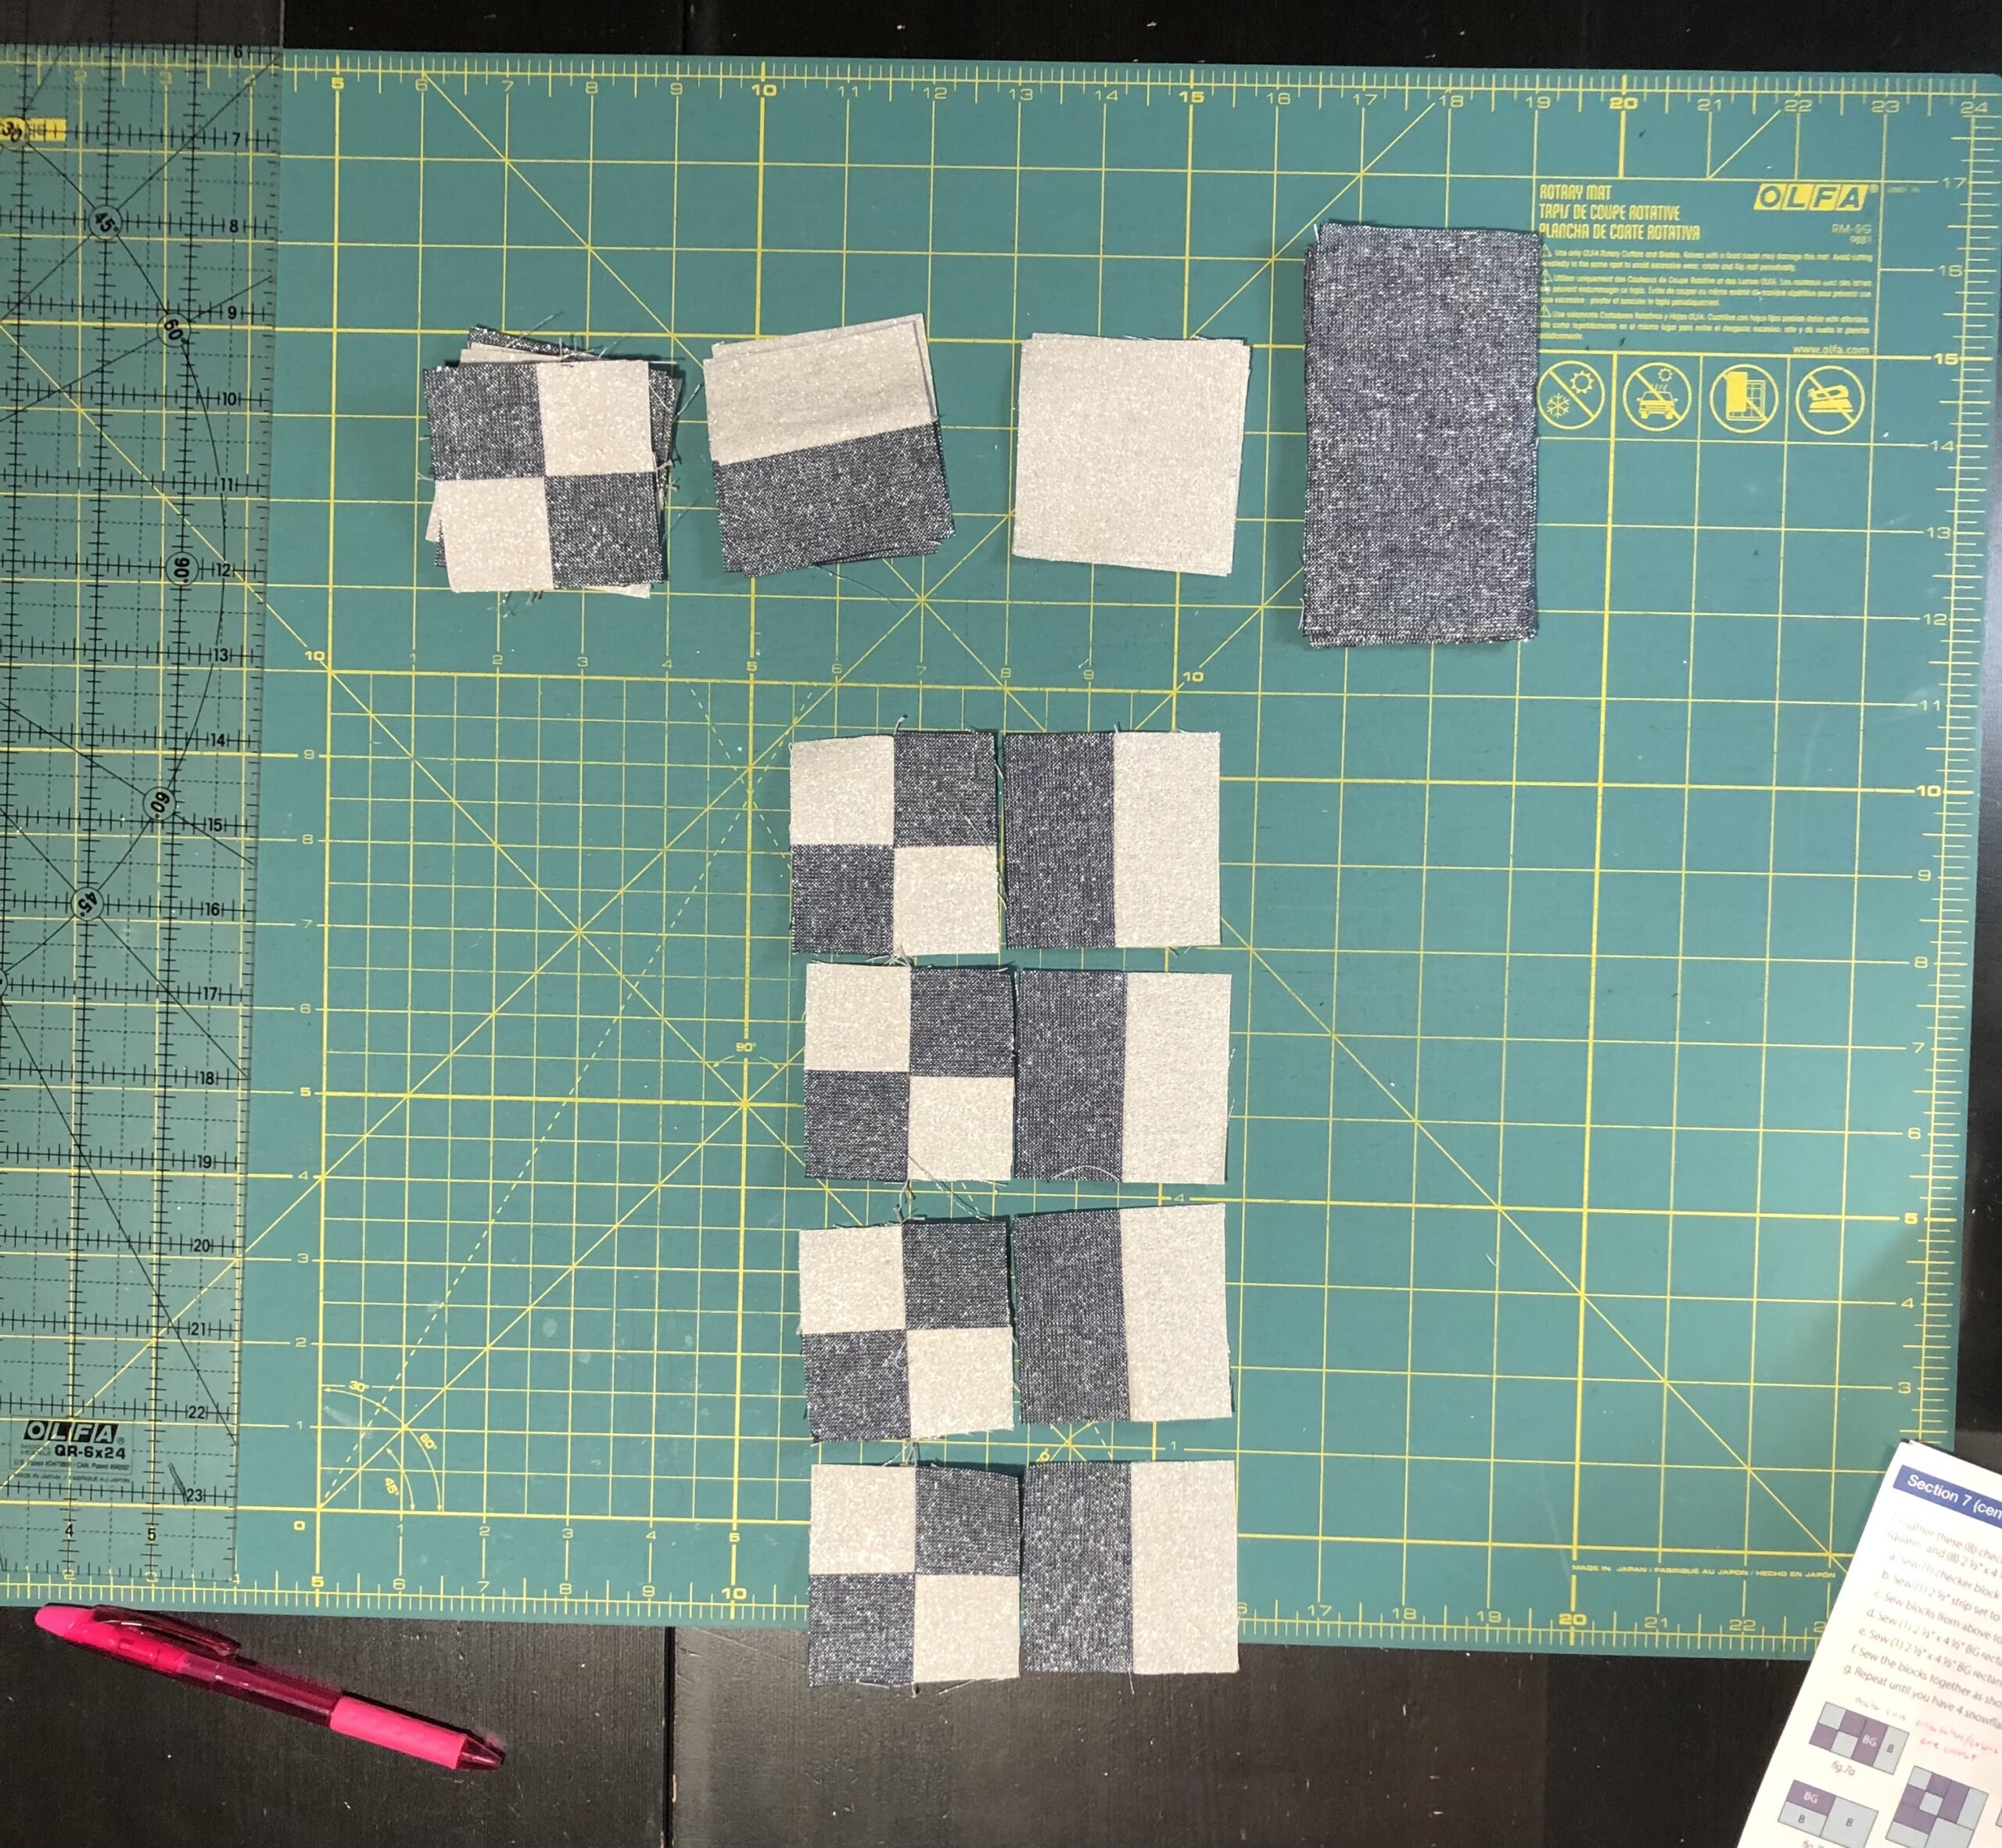
For the strip piecing at the beginning, use a shorter stitch length than normal. If you want your seams to nest later on, press them to the dark side. I used a stripology ruler to cut my 1 1/2″ and 2 1/2″ pieces and it made everything SO much faster.
I wanted to highlight Step 4, as it is a bit different than most patterns. After you make your cuts in Step 3, you will be sewing an additional strip on to whats left in Step 4. So it’s important to cut Step 3 carefully and not discard the remaining strip.

And when you go to look for Step 5 and it’s not there. Don’t panic! Apparently my numbering left something to be desired (sorry!). Just go right to Step 6 🙂
Step 7 is actually putting together the snowflake corner blocks. I set out all the components listed and then followed each step, laying out all 4 at once to speed things up. Be sure to look at the diagram for each step (7a, 7b, etc) and make sure that your background and color B pieces are oriented correctly.

I can’t wait to see how your snowflakes (or trees!) come together this month! This is the LAST block of the quilt (can you believe it?!).
Now that your snowflake or tree block is completed, it’s time to move to Section 8, Center Panel Assembly. I am still assembling mine but will post a photo when I’m done. The process is very straight forward, you’ll just sew the left and right reindeer on either side of your center block. Then add the background fabric strips around it to form the center panel.
See you all next month when we sew everything together! Are you ready?! (I’m not, but I will be (hopefully!)) 🙂
