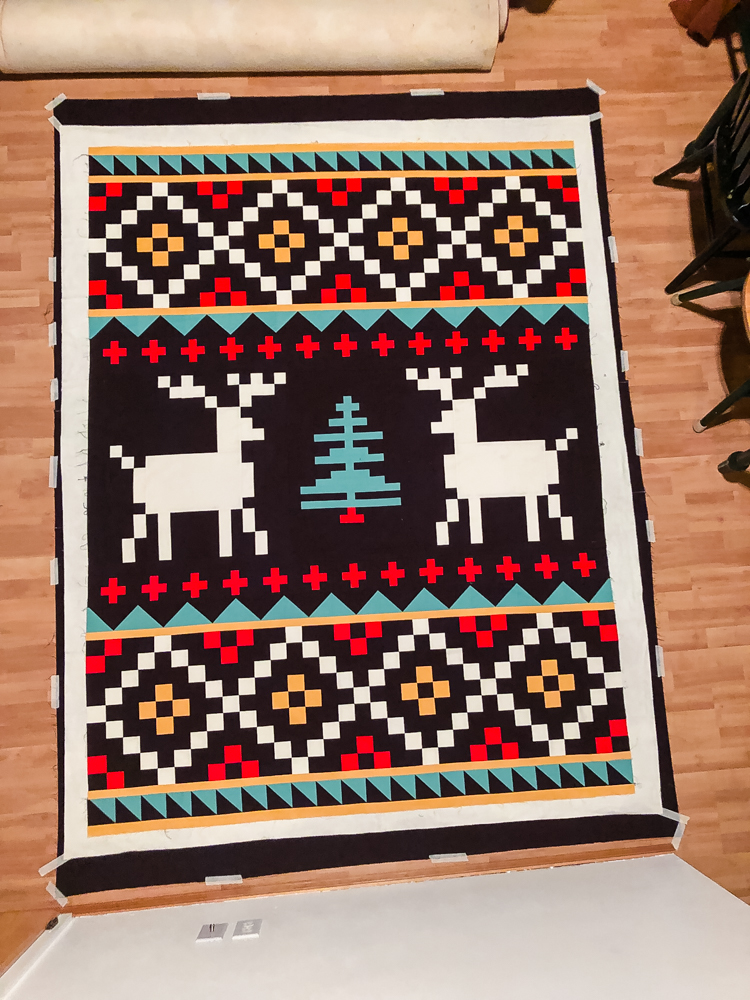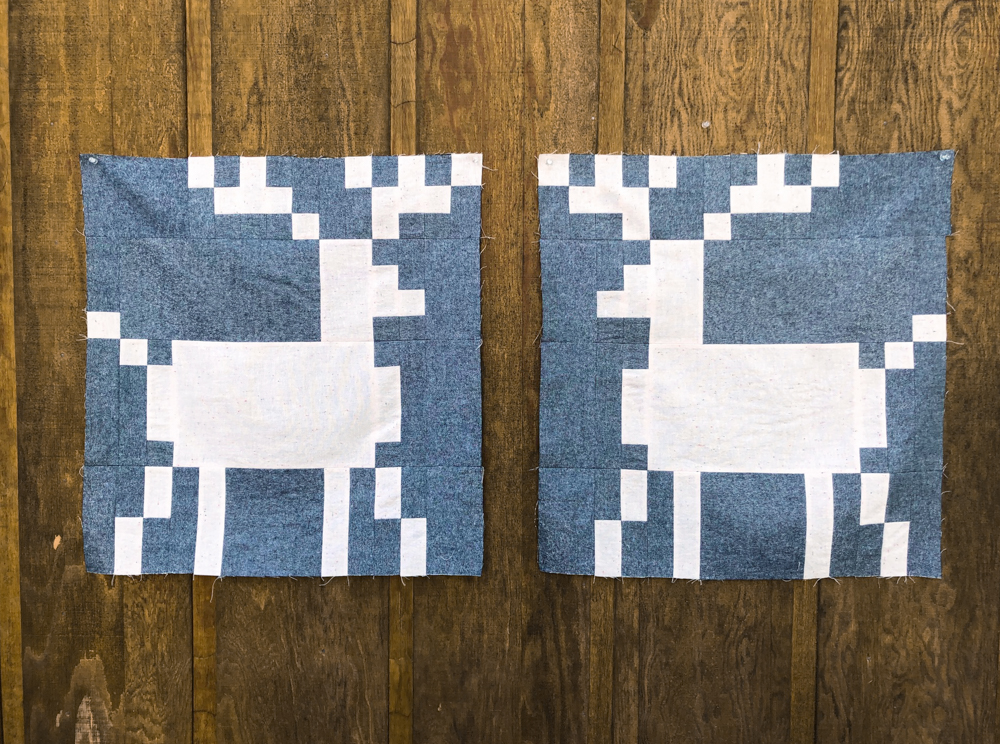
Welcome to Month 5 of the Reindeer Ridge Quilt Along! This is another one of my favorite months because we’ll be making these adorable reindeer! If you don’t want to make the entire quilt, I also think these would make really cool pillows.
This month builds upon some skills we’ve already done, but it’s a little bit different in terms of piecing, so I’ll walk you through it a bit. This section is not hard to sew, but requires lots of paying attention. It is easy to get pieces flipped the wrong direction if you don’t keep comparing to the diagrams. But after you’ve tackled the flying geese and pluses, this will feel like a breeze!
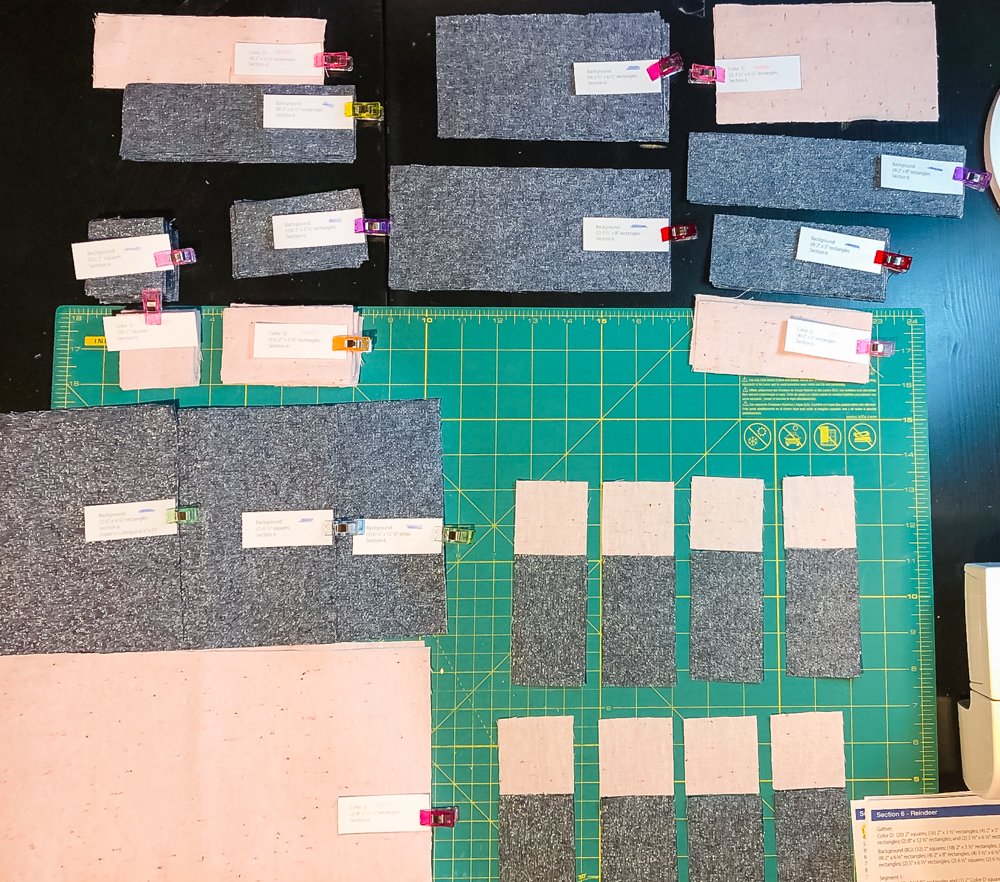
Also, this month is where it feels very good to have already cut all the pieces out! There are a lot of pieces to keep track of, so having each size labeled is really helpful! If you still need to label your cuts, the labels are in the last several pages of your pattern, ready to print. Below you can see all my piles of pieces for this section (along with the pieces I already set out for the first step).
We will be piecing the reindeer by segments (there are 4 total segments that make up a reindeer). Start with Segment 1, Step 1. Just make that step before moving on. I like the lay the pieces out for that step and piece them together at the same time. For these little pieces, I don’t use pins. The picture below is my pieces laid out for Segment 1, Step 1.
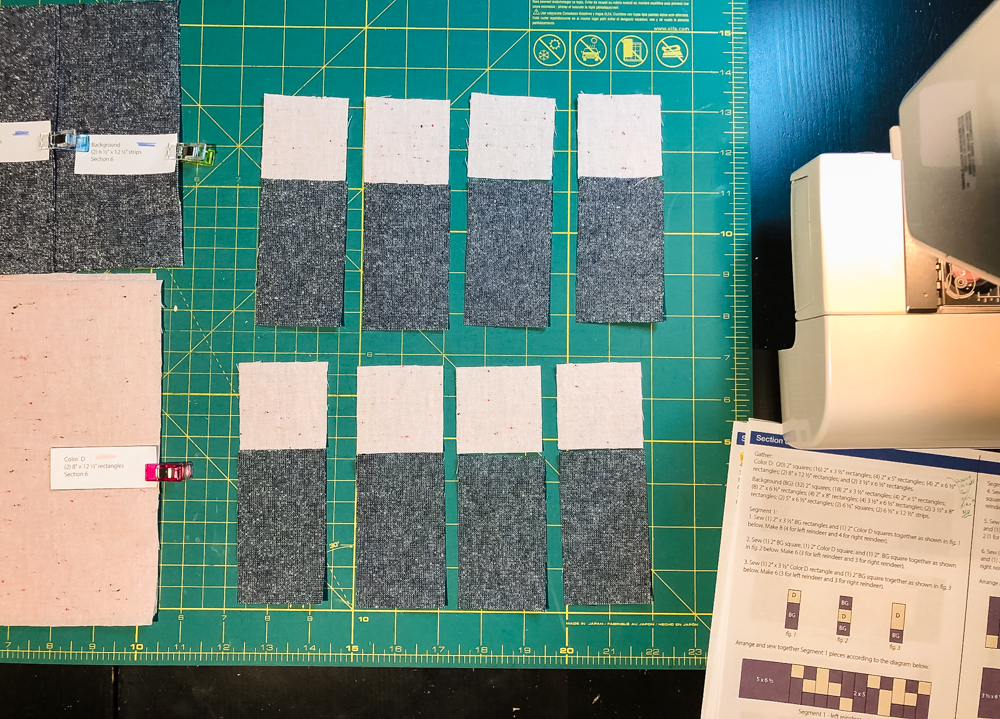
For these steps, I press everything toward the dark side. When you are sewing the segment 1 pieces together, that will allow most seams to nest. (Note: a few won’t nest. You can either re-press a piece to make them nest, or just leave it a bulkier seam. I left mine with the bulkier seam and it doesn’t seem unmanageable).
After you do the piecing for all three steps for Segment 1, you’ll arrange them according to the diagram. You’ll have one diagram for the left reindeer and one for the right. Don’t mix them up! 🙂 I like to lay everything out before sewing and check it several times against the diagram. Then as I sew, I lay everything out as I go, double checking each time.
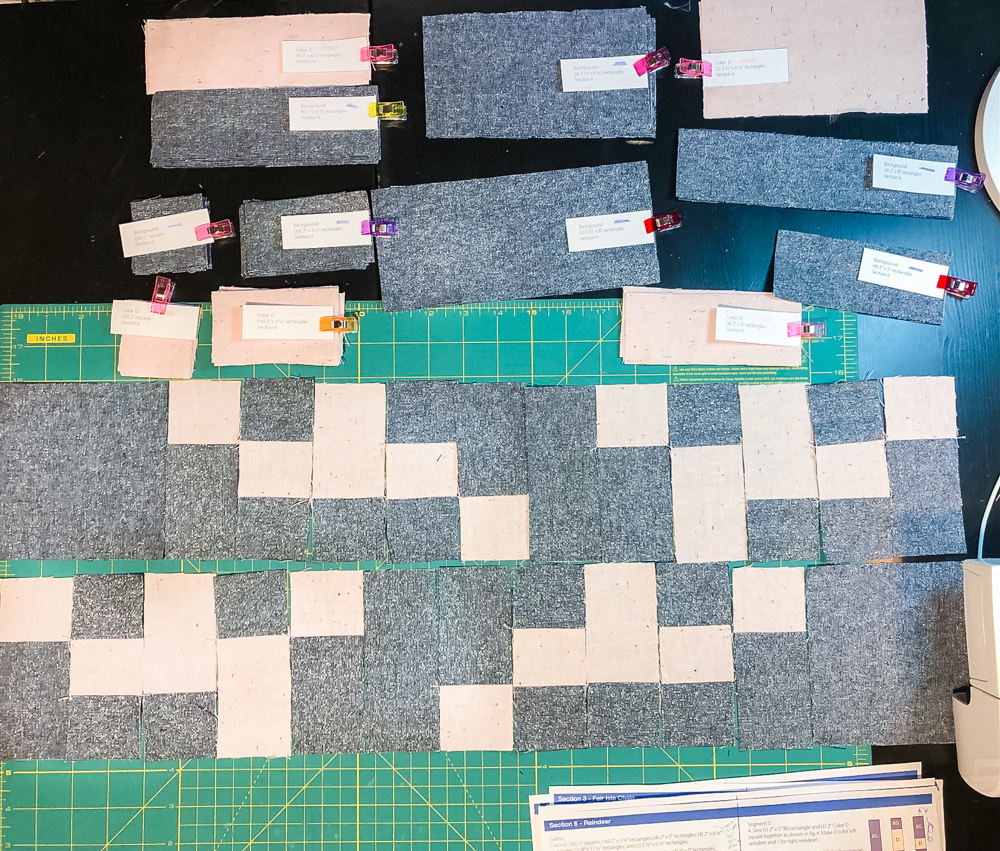
When sewing the segment together, pay the closest attention to when the seams are supposed to line up and pin those really well. There are a lot of places that don’t need precision seam matching, so these segments actually come together quicker than they look. Segment 1 has the most piecing, so if you get through that, the rest will be smooth sailing!
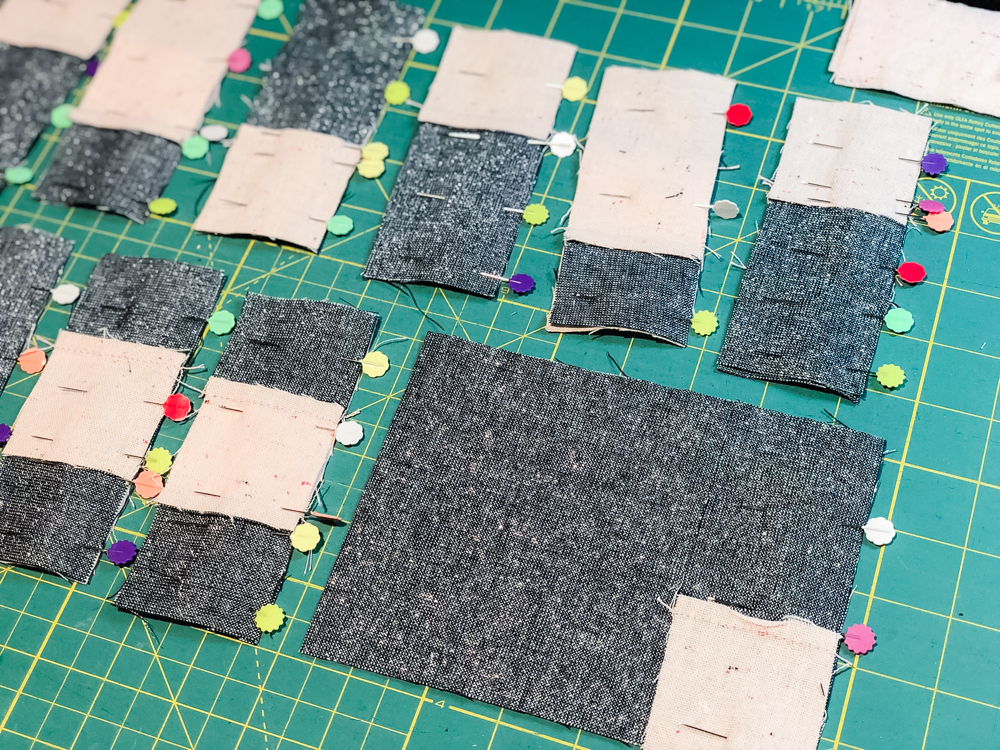
Also, after sewing the segment pieces together, I press those seams open to help everything lie flat for when we put all the segments together. But if you feel strongly, there’s nothing wrong with pressing to the side 🙂
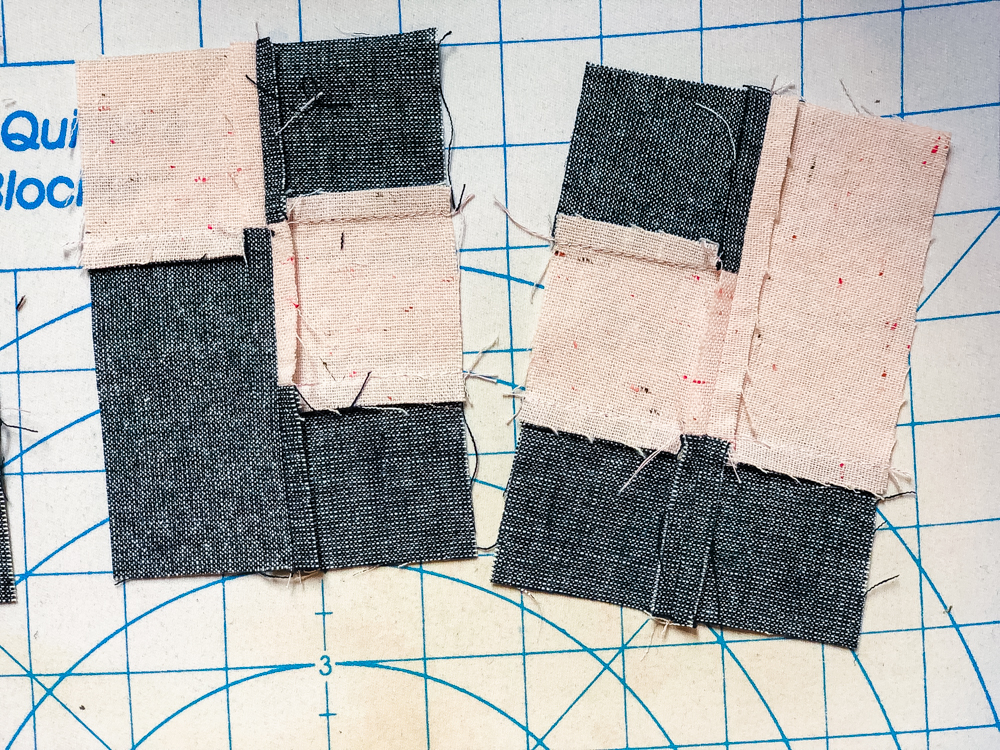
I was wondering which month would be the biggest pain due to choosing to use more loosely woven linens and this is that month! I’m getting a ton of shifting as I sew these small sections together. But thankfully so far it really isn’t affecting the overall look of my reindeer.
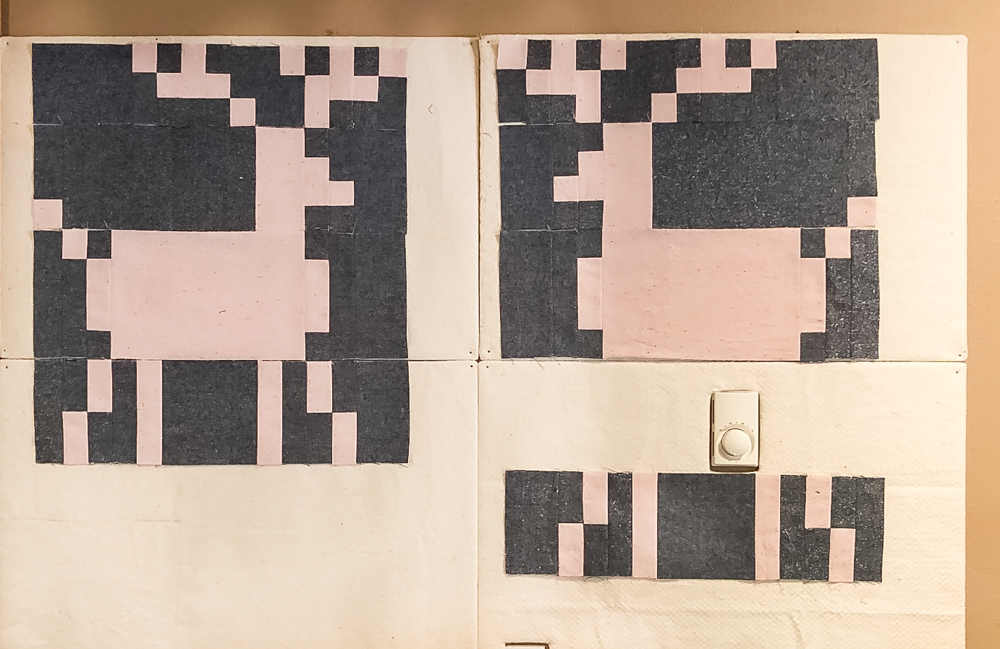
As you sew your 4 Segments together to make the reindeer, focus your accuracy on places where the seams meet between the segments. Like where the reindeer’s head meets the antlers and where the neck meets the body. Even if everything else is wonky, getting those connections correct will make your piecing look good.
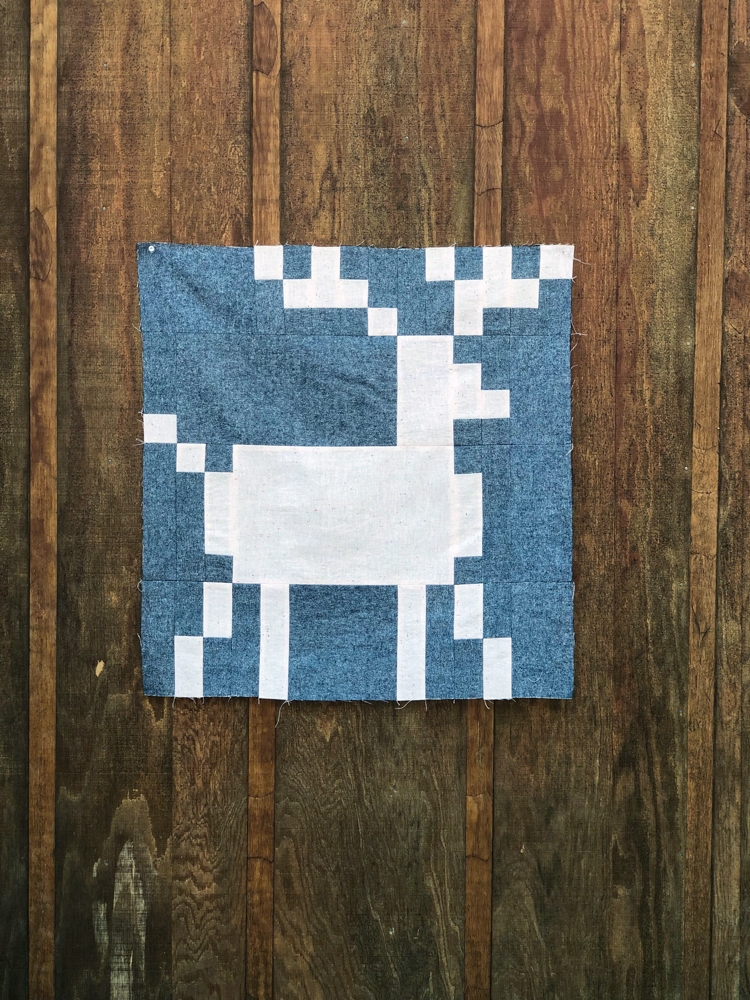
Another month done!! Wahoo!! We are SO close to the finish line. Next month is our center block (tree or snowflake) and then it’s just assembling everything together!
I realized that I still hadn’t quilted my first reindeer ridge quilt top and I thought having 2 WIPs of the same pattern was against some kind of quilty law, haha! So I got it basted last week and will show you the quilting plan I came up with for it soon! Happy sewing!
