Happy April friends!! Welcome to month 4 of the Reindeer Ridge quilt along. I hope your quilt sections have been coming together without issue! Last month’s fair isle chains were a big one. This month we are working on section 4, flying geese, and section 5, plus blocks. These should be a lot faster to get through! Below I have a few tips on each section, along with a video walking you through how to make 4 at a time flying geese. These blocks are pretty straight forward, so there’s not a lot to cover this month. Enjoy the break because next month is big!! 🙂 As always, contact me with any questions. Happy sewing!!
Flying Geese
Flying geese are one of my favorite blocks. They are so versatile to make and add interest to any project. I find that this 4 at a time method is the least frustrating way for me to make them. Plus I like getting 4 at once, instead of just one 🙂
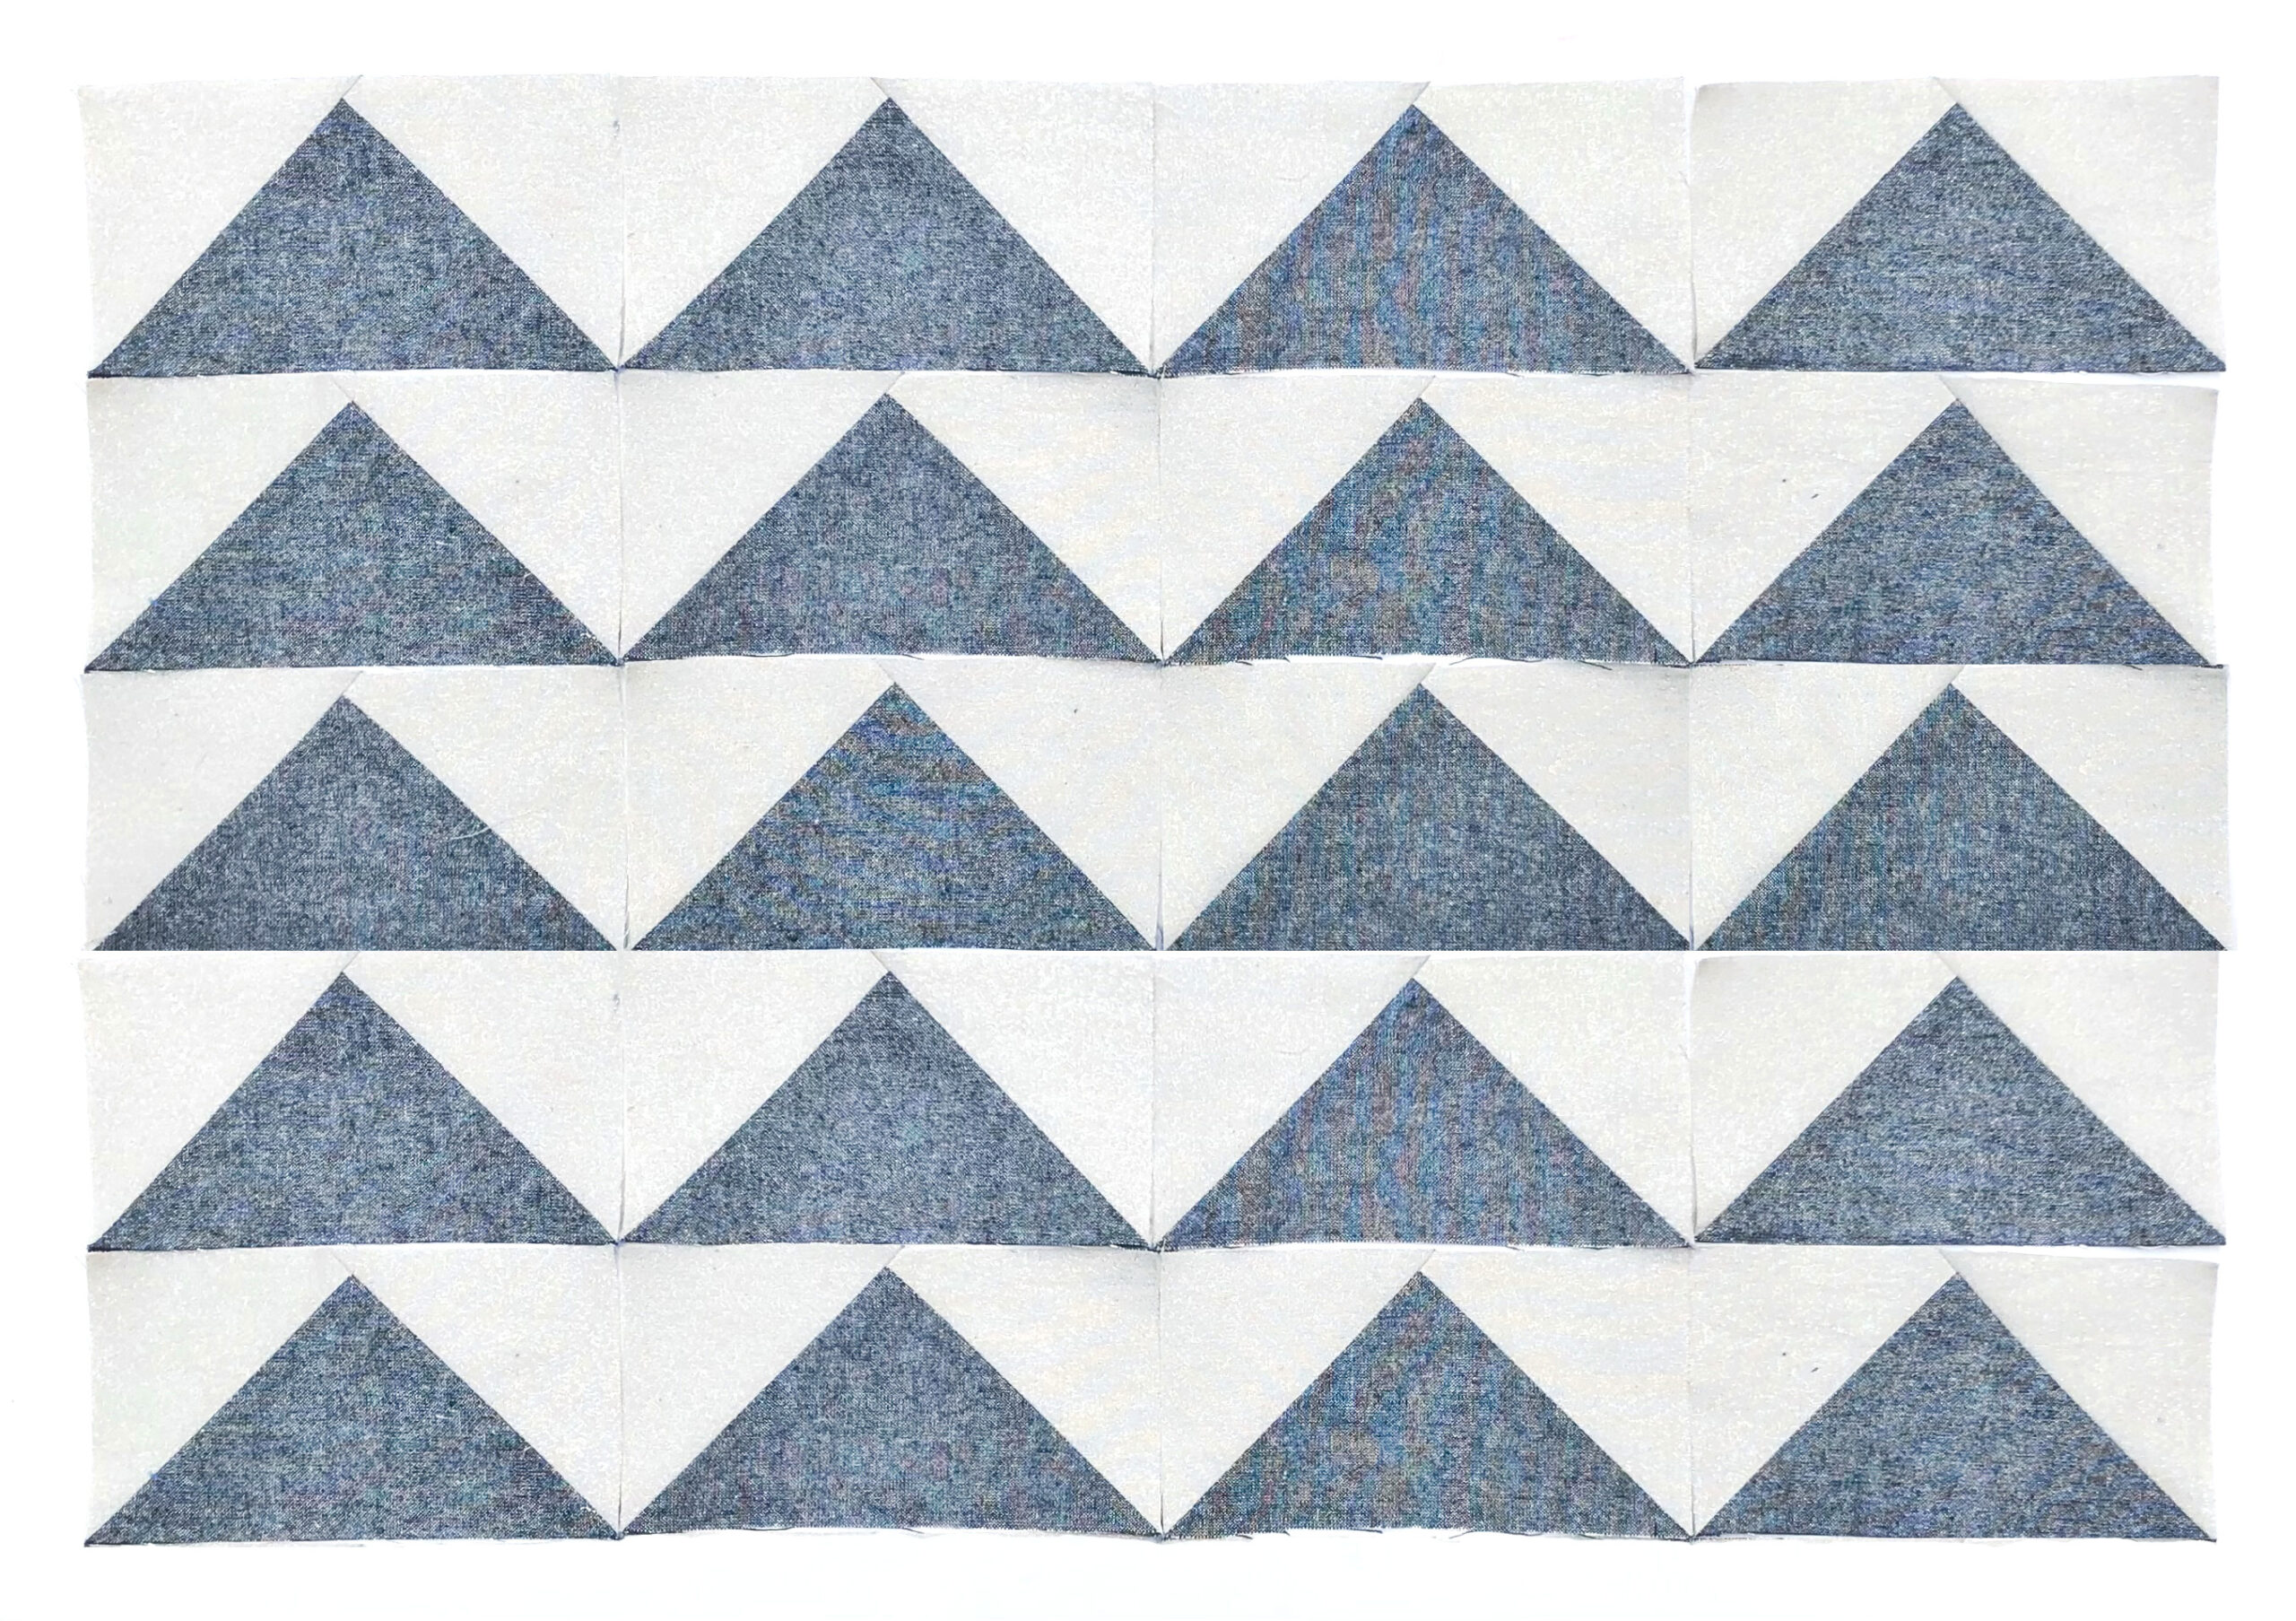
I wanted to point out, there is a typo in this section (my first typo in a pattern. darn!), in step 3, we will “cut” the fabric, not “cup” it. Haha! I will be correcting this and updating the pattern, but I wanted to give you a heads up in case anyone was confused. If you’d like an updated copy, let me know and I’ll email you one.
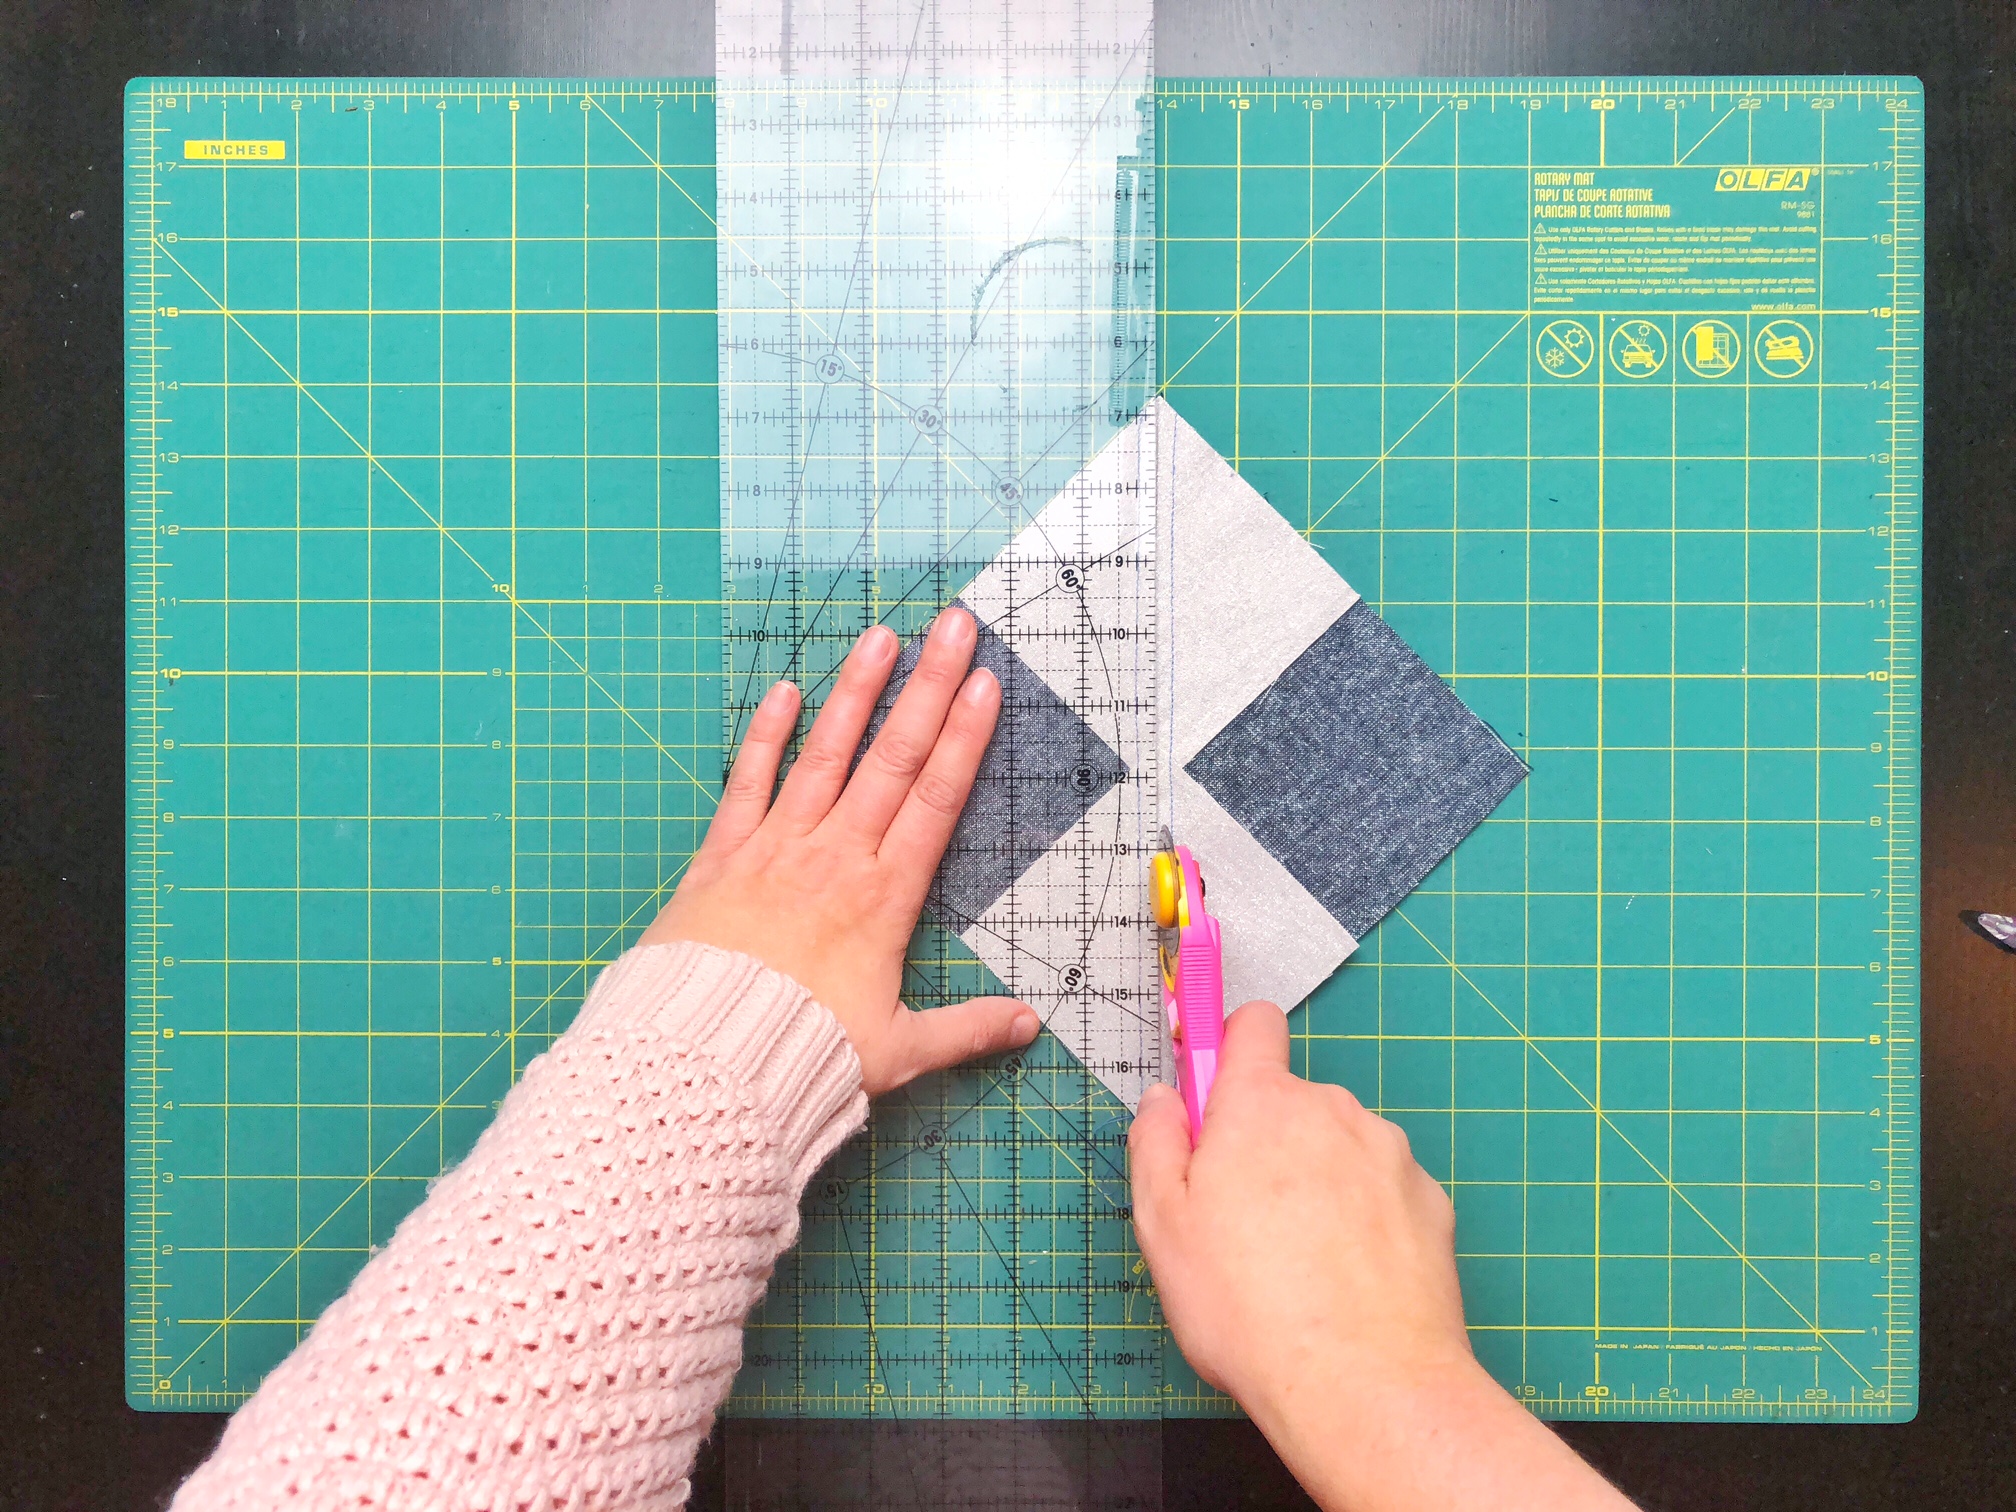
When making flying geese using the 4 at a time method, we are dealing with pieces with bias edges that are more prone to going wonky. But just handle with care, maybe use a little starch, and everything will be great 🙂
Watch the video below for a demo of how to make these flying geese.
After you’ve assembled your geese, you will sew them into rows as directed in the pattern. You will have 2 geese left over, so save them for your backing or your label!
Plus blocks
If you liked making the Fair Isle Chain last month, you will love the plus blocks! It is the exact same steps, just less intense. There are less pieces and not as many combinations to keep track of. I really like how these plus come together without dealing with a lot of little squares, like most plus block patterns.
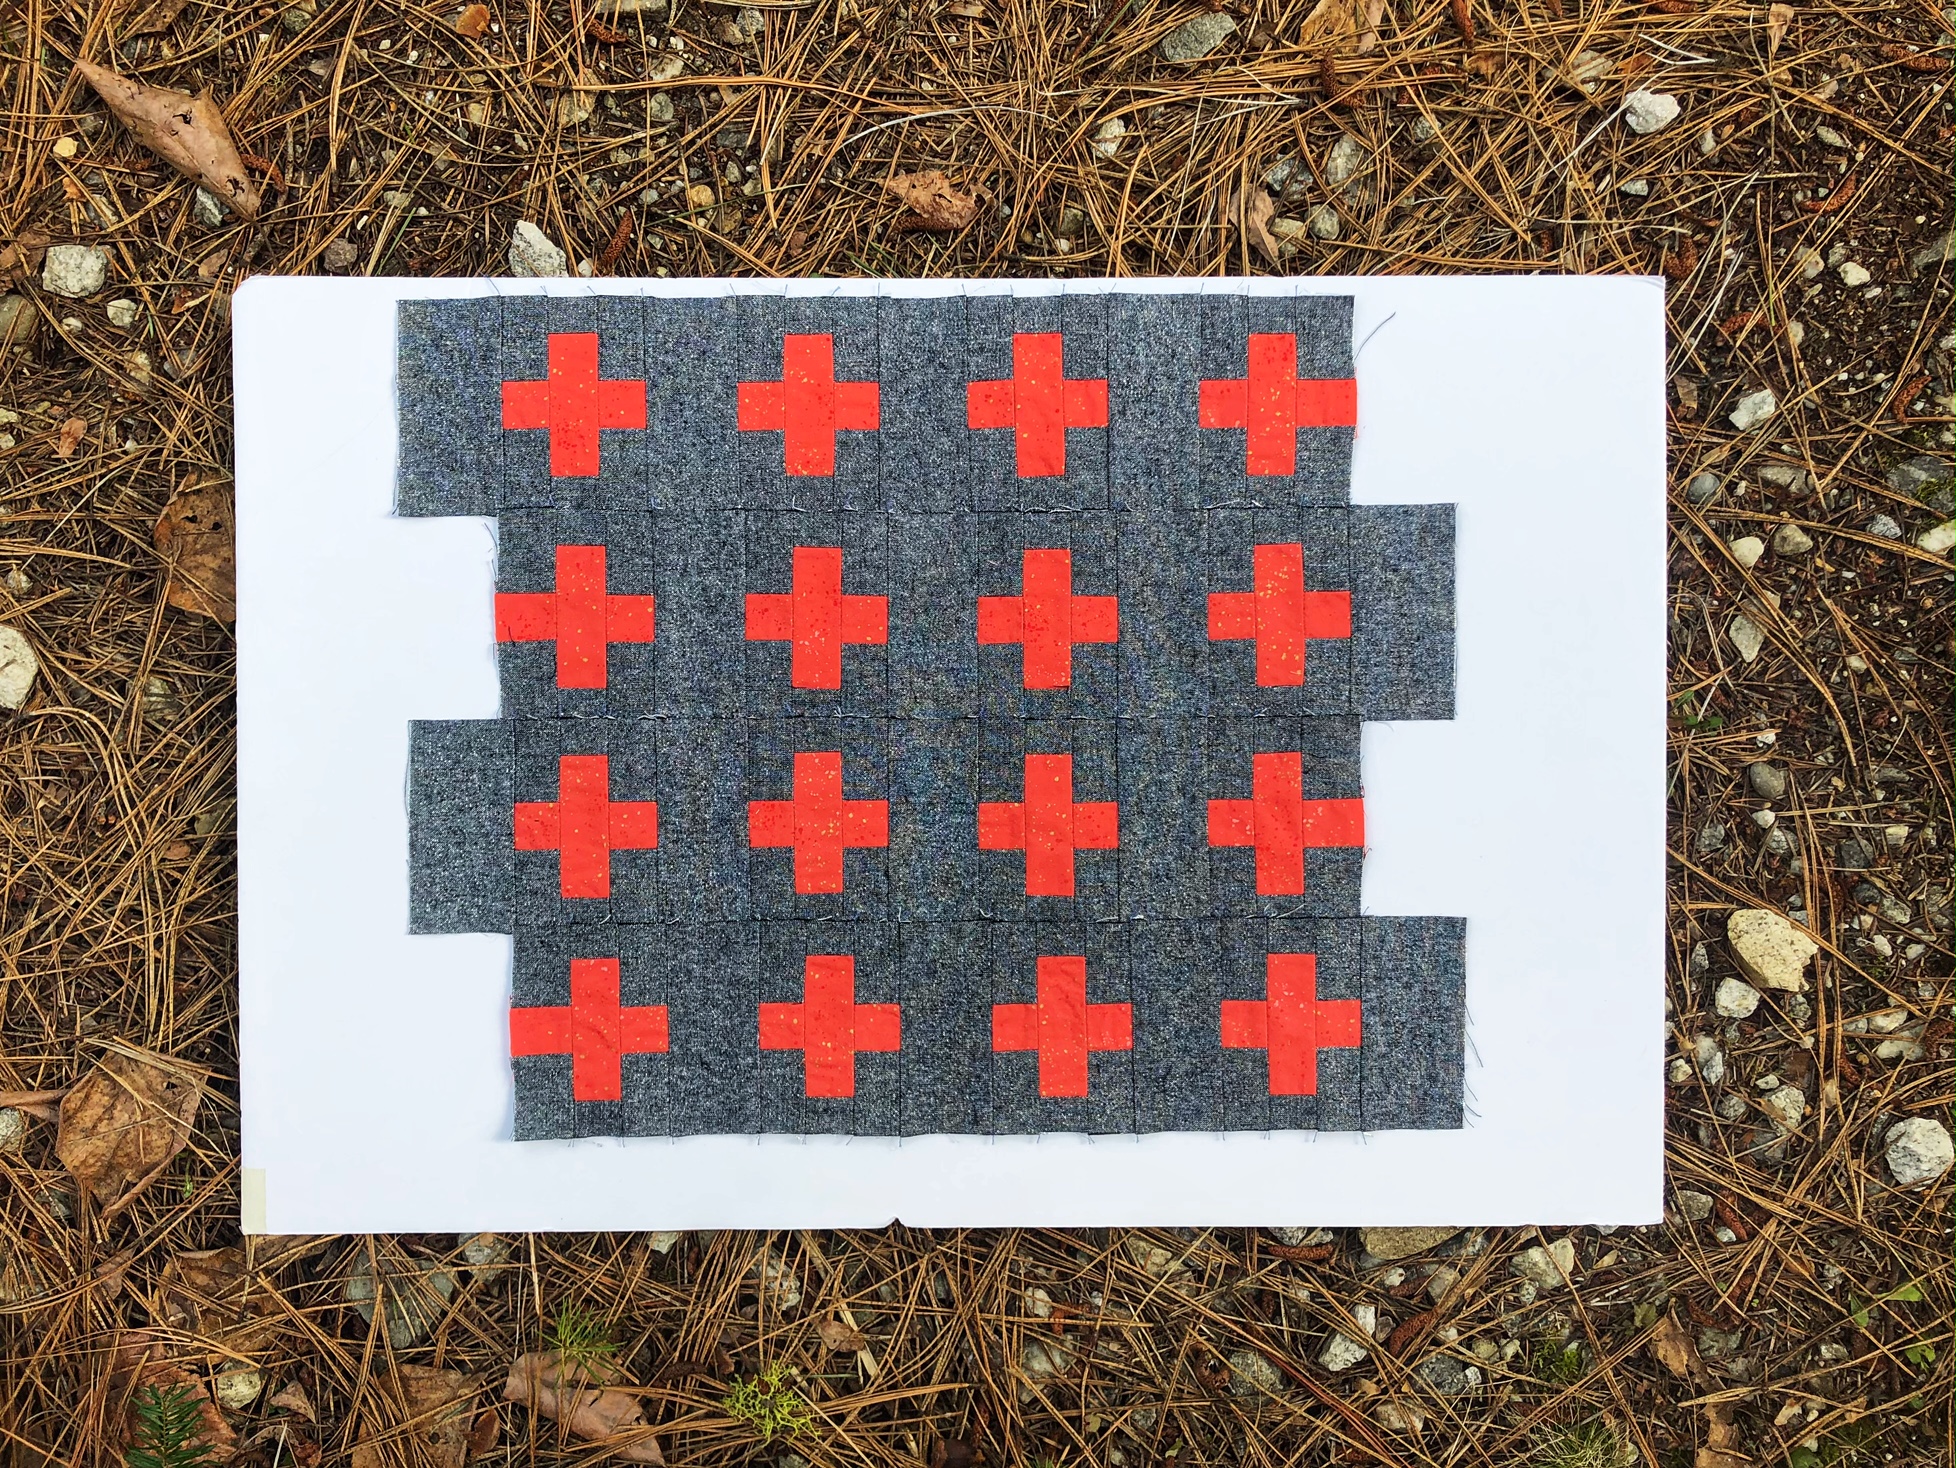
If you need tips on sewing the strips or cutting out the columns, go back to Month 2 (section 3) for strip piecing tips and Month 3 for squaring up and cutting columns. The process is exactly the same.
Pressing tip: when adding the Column 1 squares to the plus blocks, press towards the column 1 blocks. That will help keep the bulk down.
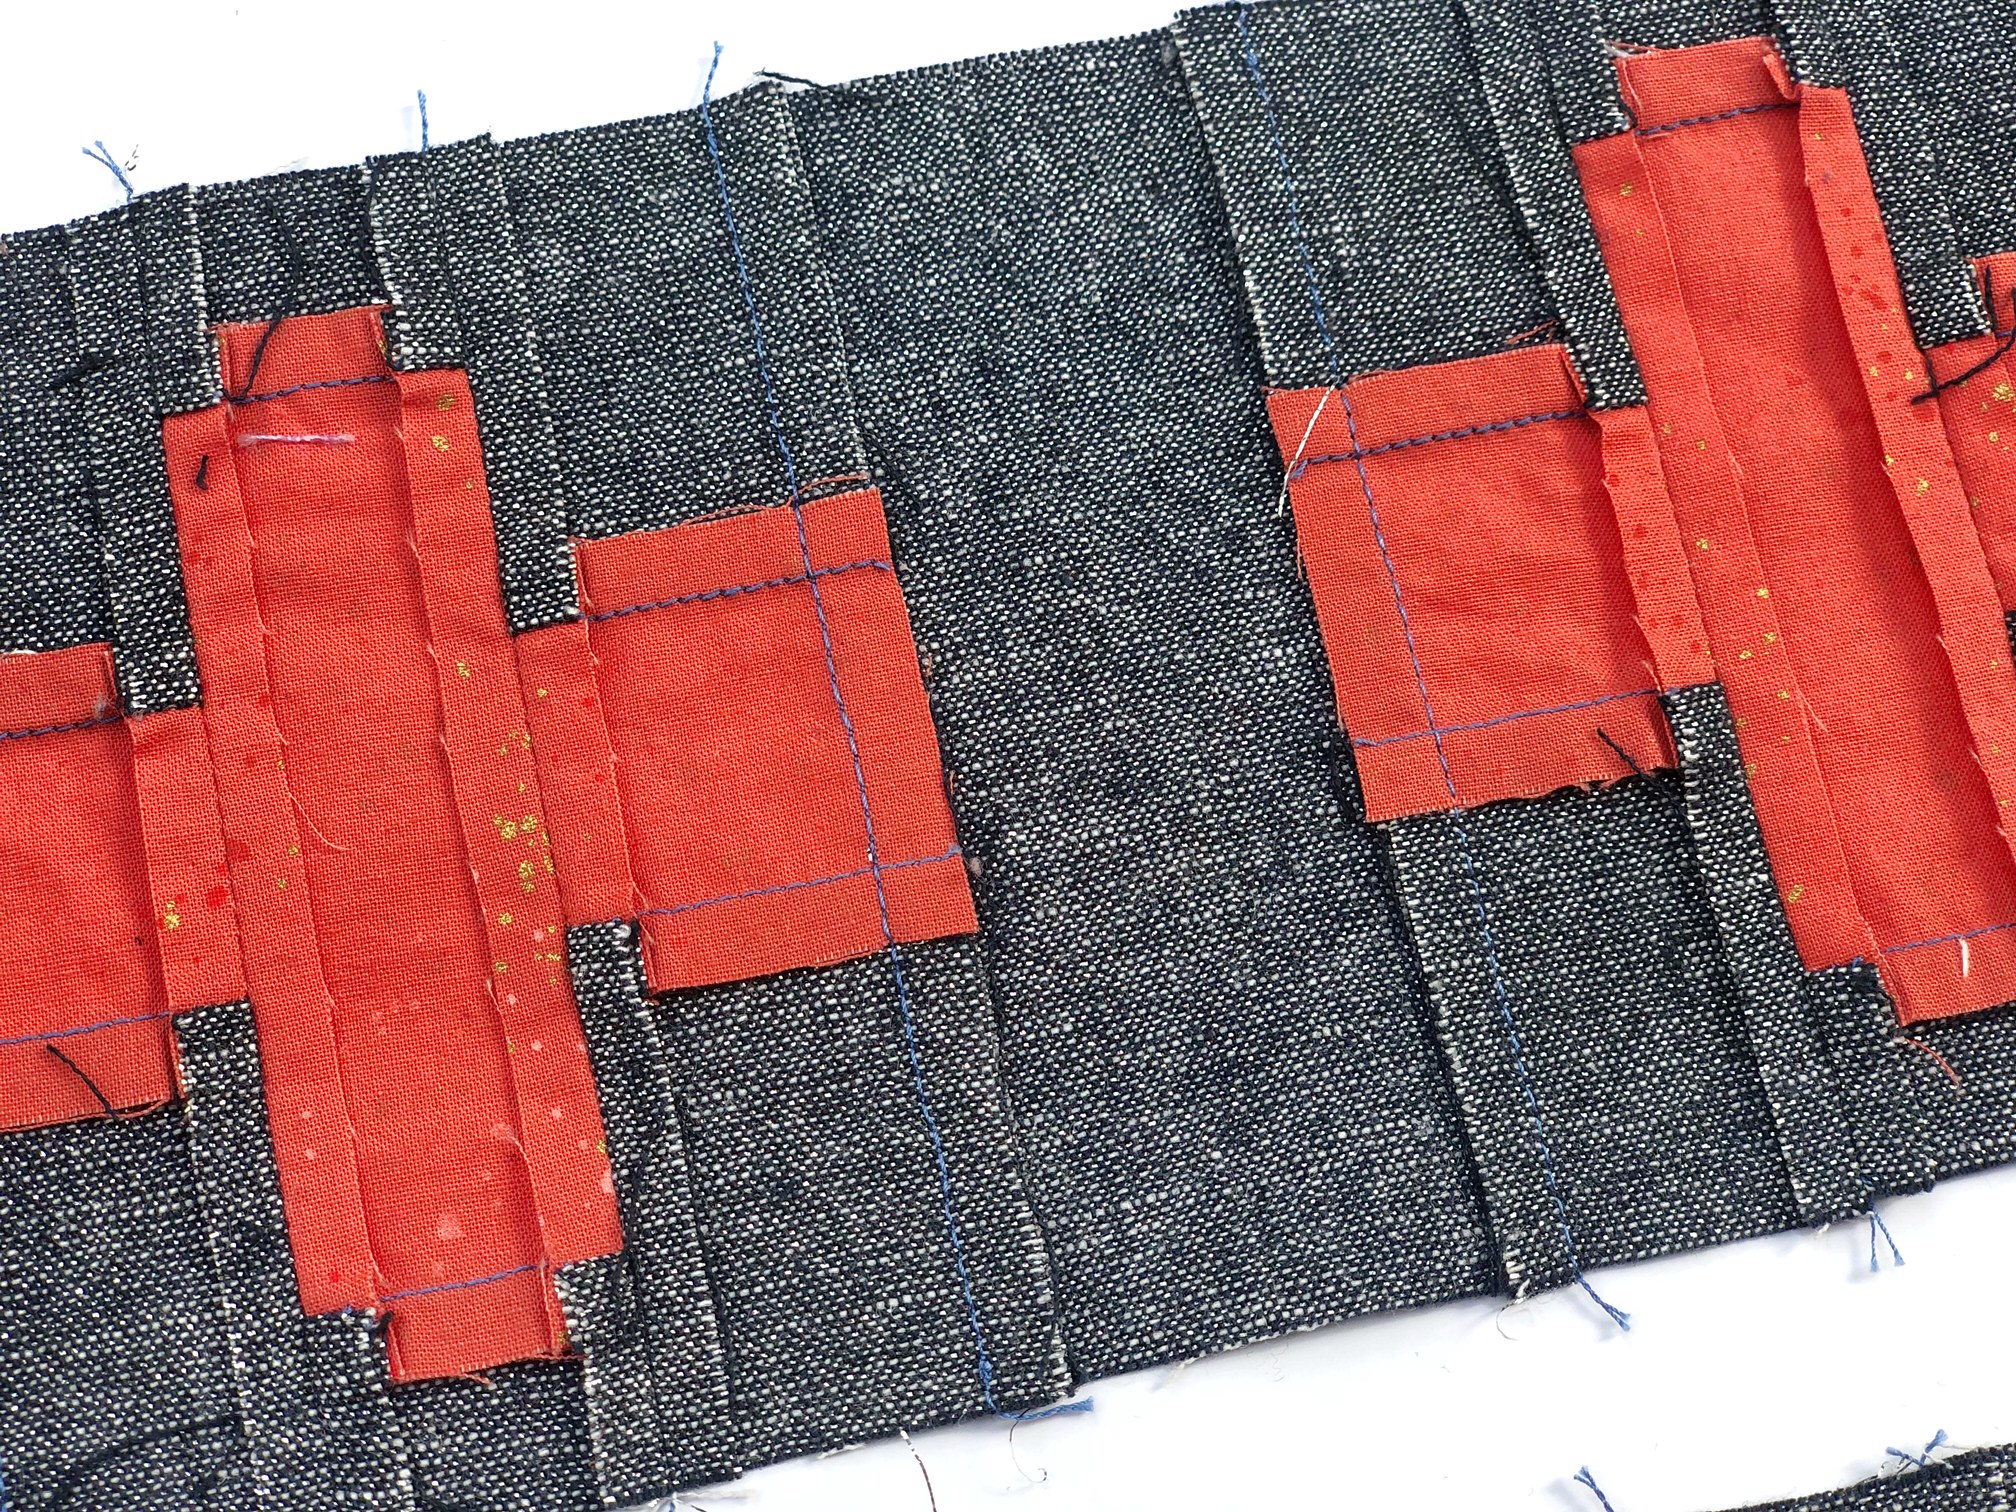
Also as noted in the pattern, this section can turn out a tiny bit long compared to the other width of quilt blocks. Don’t panic! We will center it and trim the ends off during the assembly step and it will look perfect! 🙂
Giveaway!
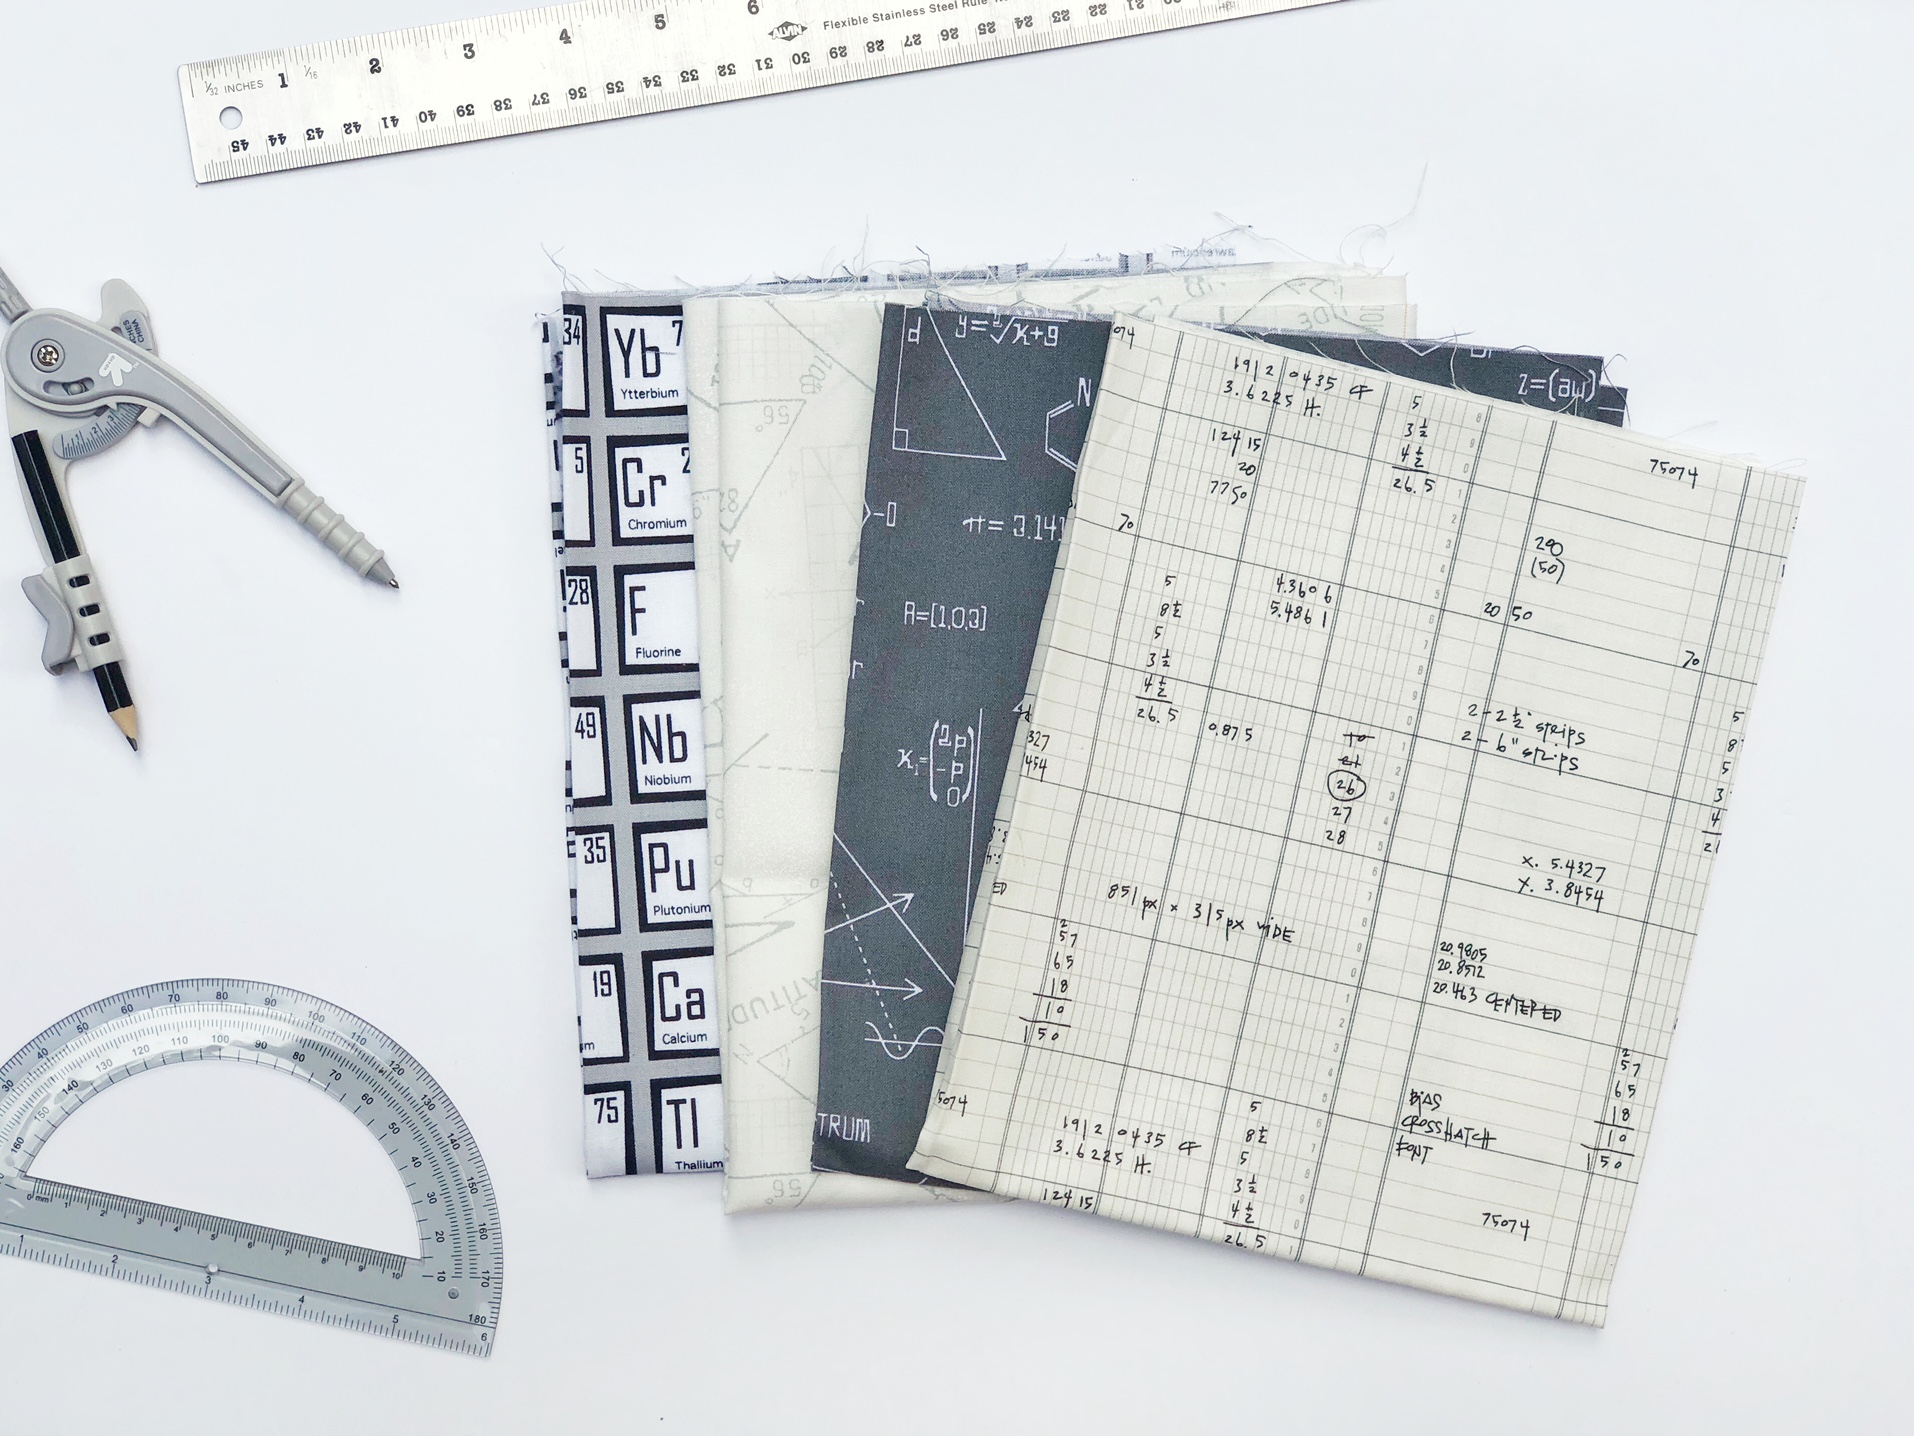
This month I’m giving away a prize! Up for grabs is this super smart FQ bundle of math and science prints. All you need to do to enter is post any progress shot on instagram, using the hashtag #ReindeerRidgeQAL . You don’t need to be caught up, just wherever you’re at in the process. If you’re not on instagram, email me a picture and I’ll enter you that way 🙂 Entries will close on the last day of April and I will randomly select a winner on May 1st.
