I’m so excited to start sewing this month!! If you didn’t get all your fabric cut last month, you can catch up this month, or just cut as we go. This month, we are tackling Sections 1 and 2 and sewing the strips together for the start of Section 3.
I wanted to start our sewing time by mentioning that the seam allowance for this pattern is always ¼”. If you are a newer sewist, I recommend taking some fabric scraps and sewing them together, then measuring to make sure you have a ¼” seam. Now, no one is perfect all of the time. But this quilt has a lot of pieces that work with each other, so if you can get your seam allowance pretty consistent, your results will be better.
Section 1
Let’s start with the easiest section first. Section 1 is sewing the long, skinny strips together that run the width of the quilt. You will have 6 strips when you’re done. Don’t worry about trimming them if they aren’t the exact size listed in the pattern. We’ll trim at the end when we’re assembling the quilt.

Section 2
This section is all about sewing half-square triangles (HSTs). Because we are making so many, the pattern is written to use the make 8-at-a-time method.
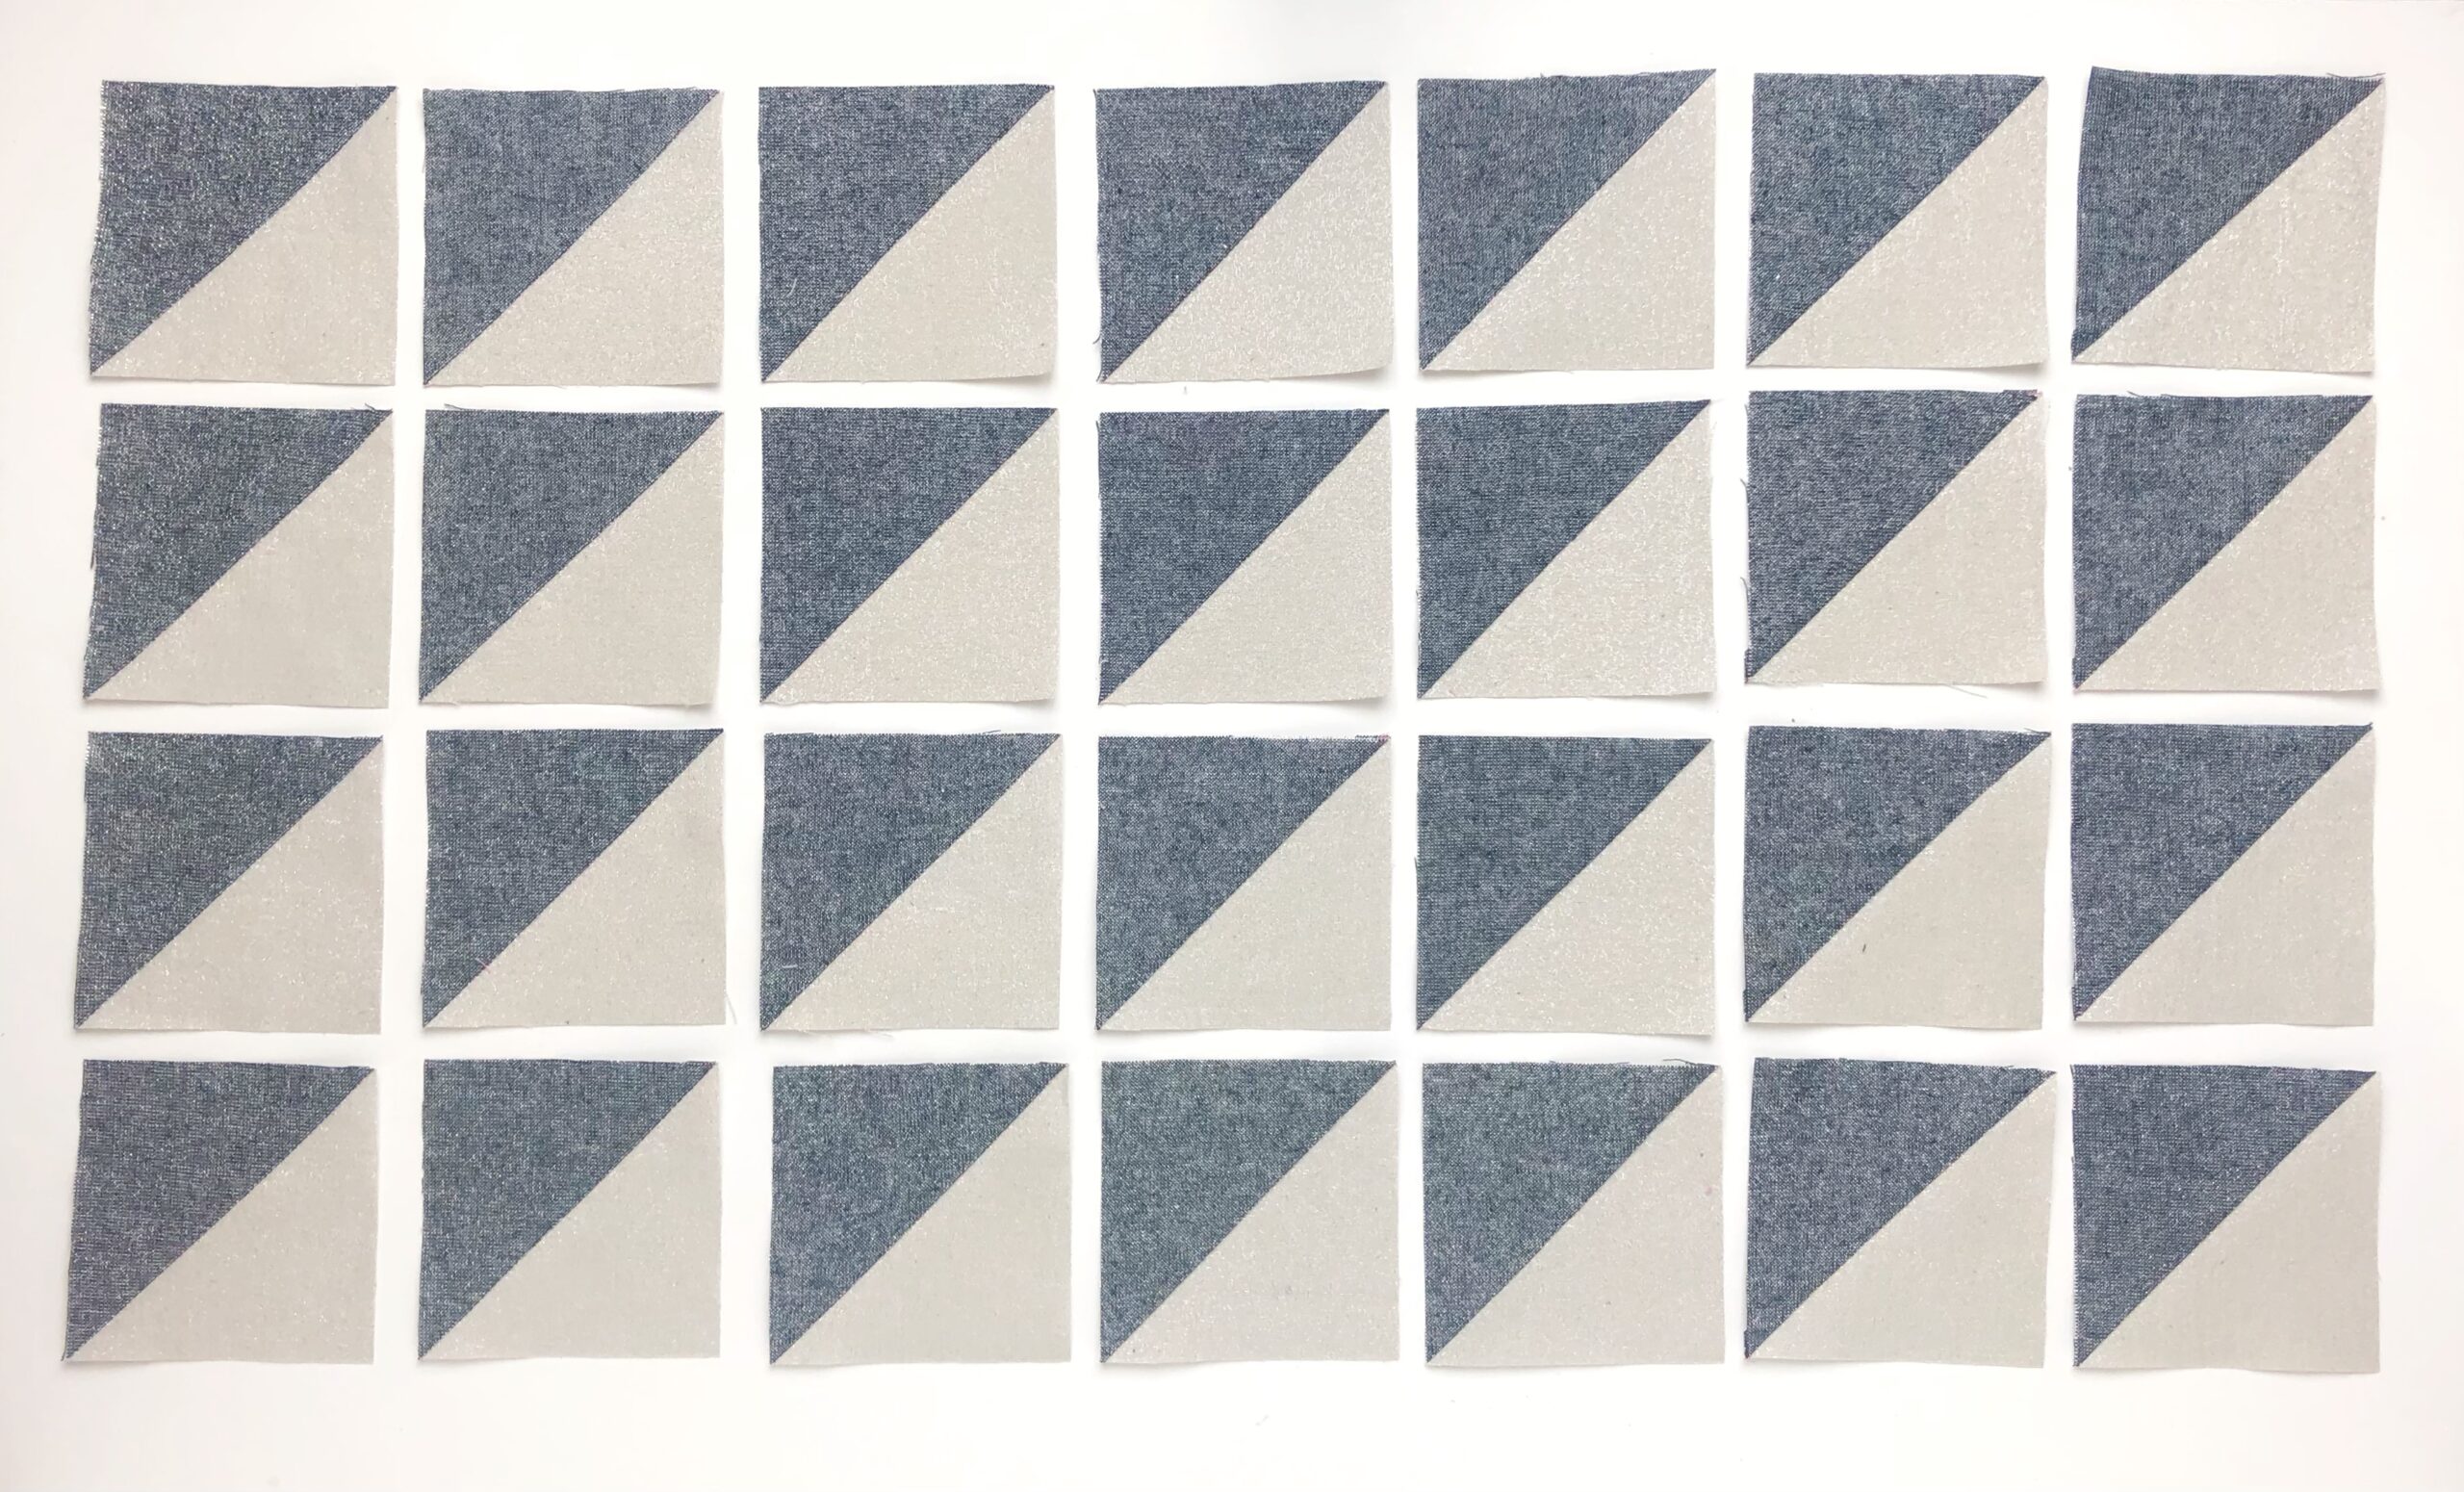
Here’s a video of me making HSTs using the 8 at a time method for those who like a visual of the process.
As I mention in the video, these will go much faster if you chain piece them. Chain piecing means prepping (drawing lines and pinning) each block before sewing. Then when you sew, continue to feed the blocks through one after the other without cutting threads as much as possible. Then cut the thread chain between each set of blocks when the sewing is complete.
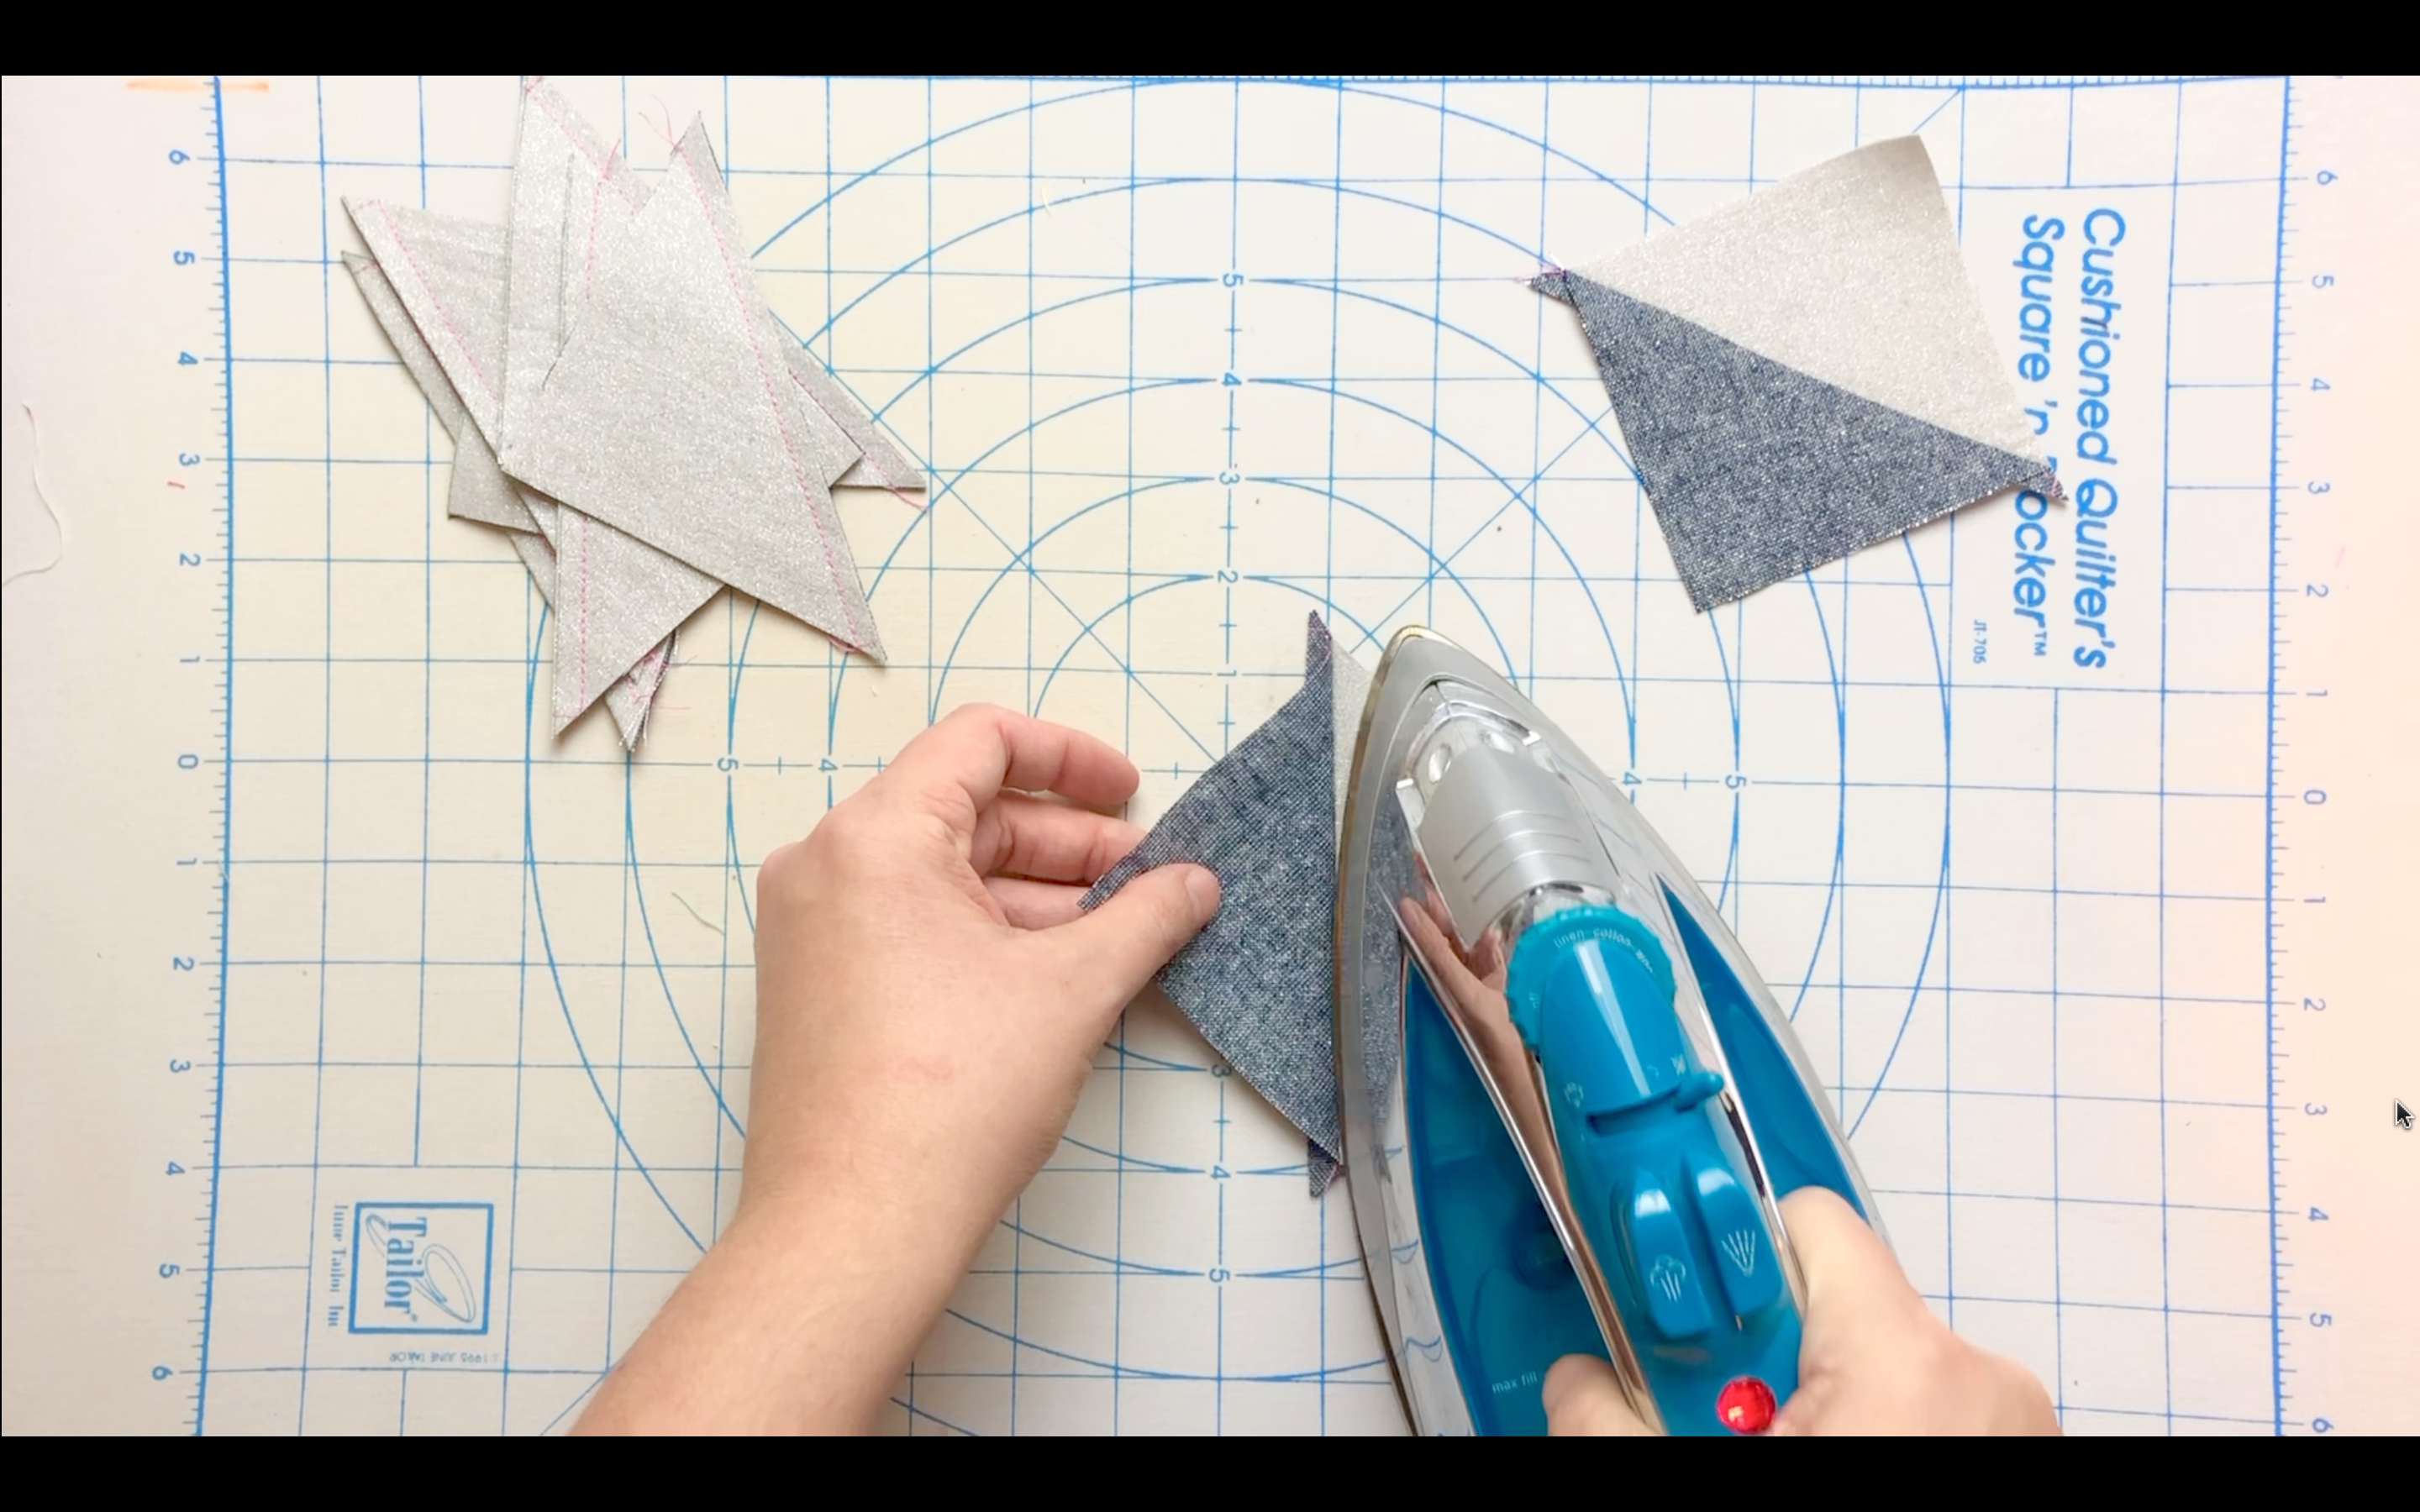
One other thing, this pattern instructs you to press to the dark side. That means to press toward the darker color of fabric. This prevents you from seeing any shadowing from the front of the quilt and the seam is more protected. But if you love to press open to get that nice flat look, I support you 🙂
Section 3
This is our biggest strip piecing section. This means we will be sewing long strips together and then cutting them back up to create new blocks. We’ll sew the long strips together this month, and then do the rest of cutting and sewing next month.
Here are a few tips when sewing long strips together in preparation for strip piecing.
- Use a shorter stitch length when sewing (somewhere around 2mm or a little shorter). Because we’ll be cutting through the seams, using a shorter stitch helps keep things from unraveling.
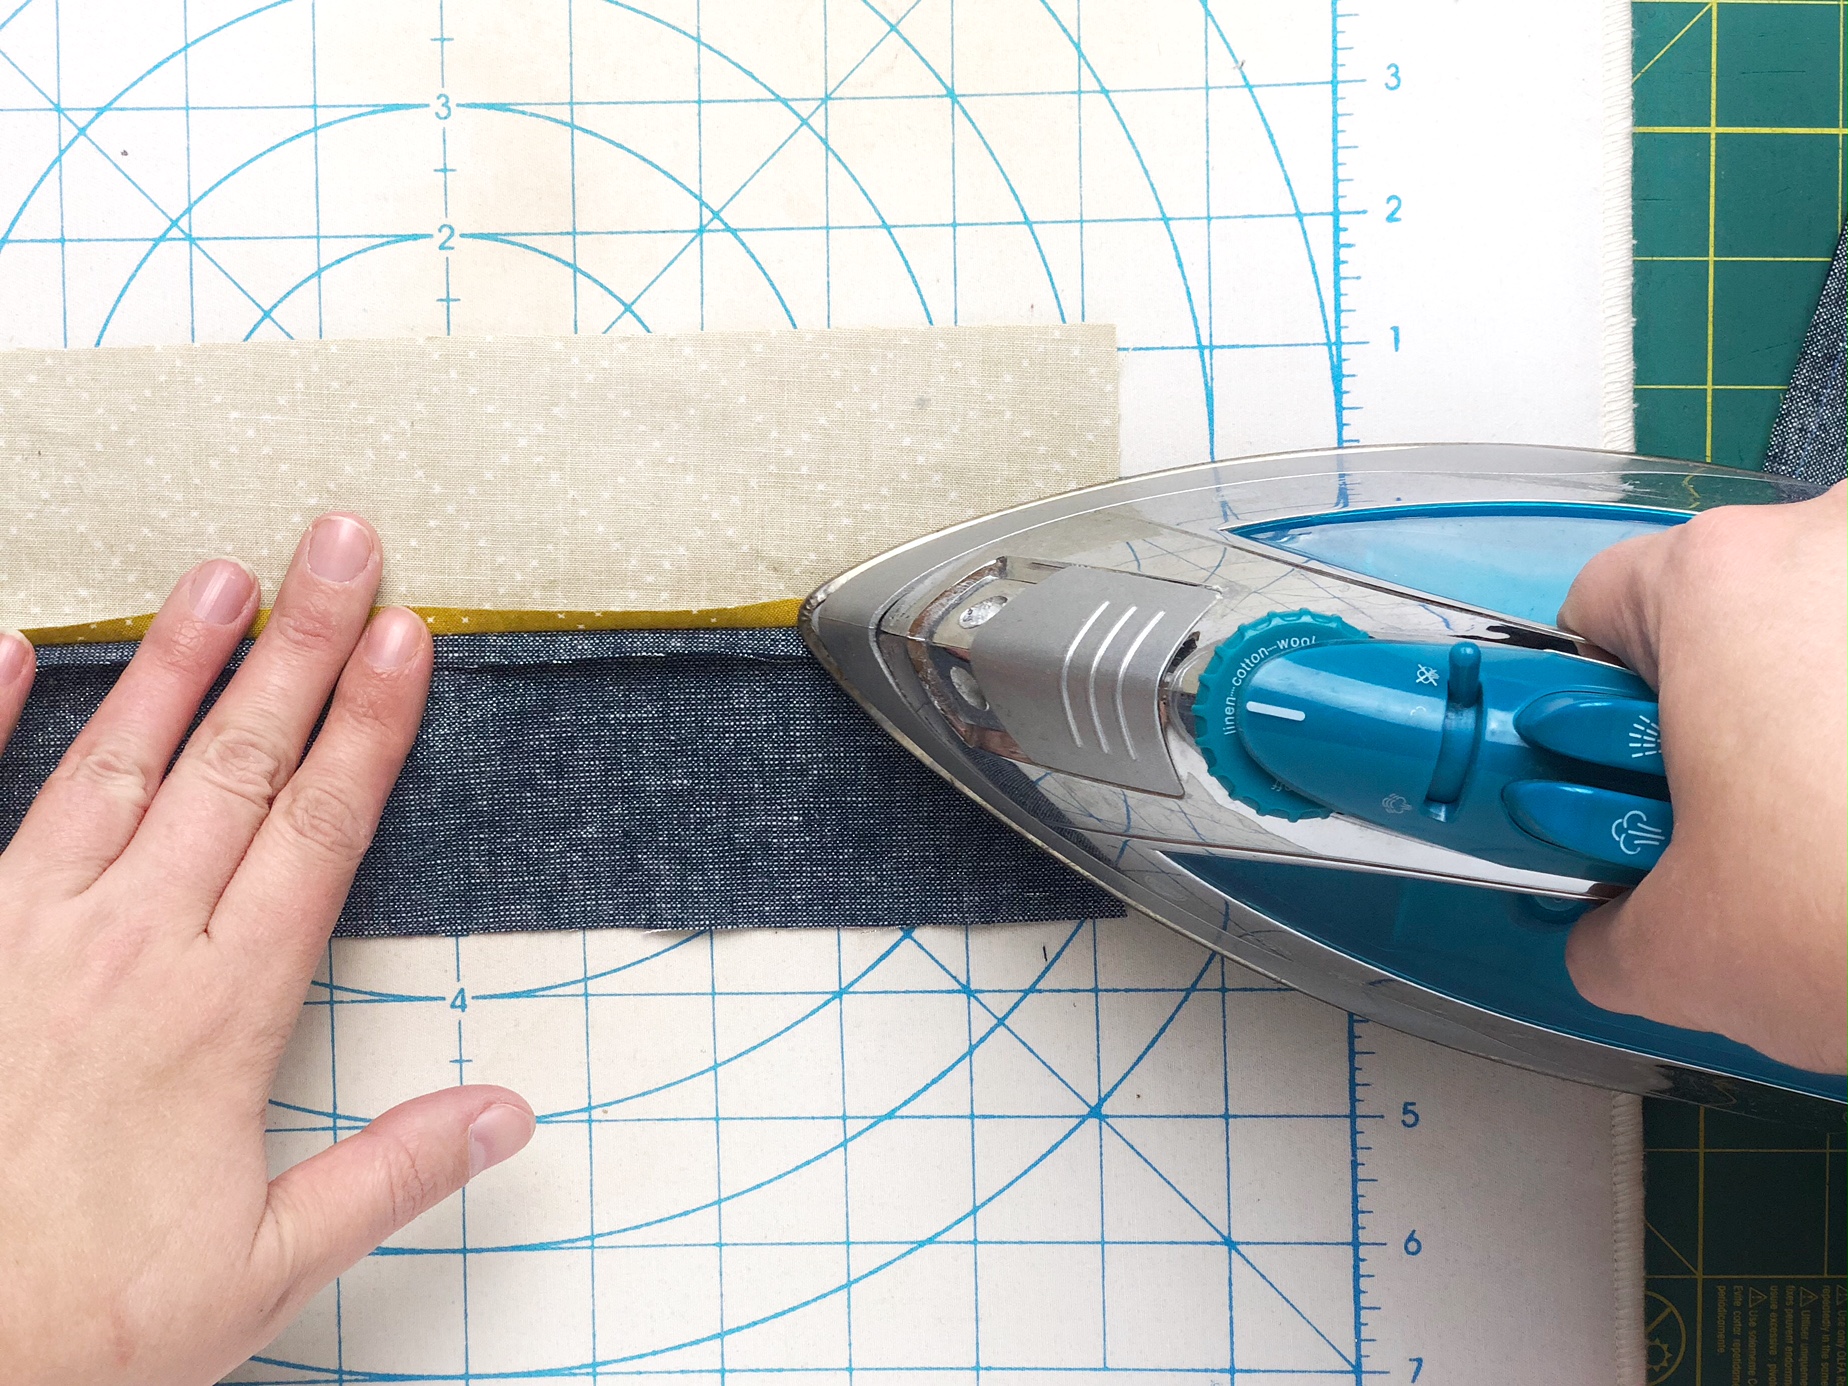
- Press seams open. Unlike our previous HST section, for long strips I recommend pressing everything open to keep things nice and flat. Also make sure you are pressing and not pulling the fabric and you press the seams. We’ll have a lot of matching up to do next month and this will help everything go together smoothly.
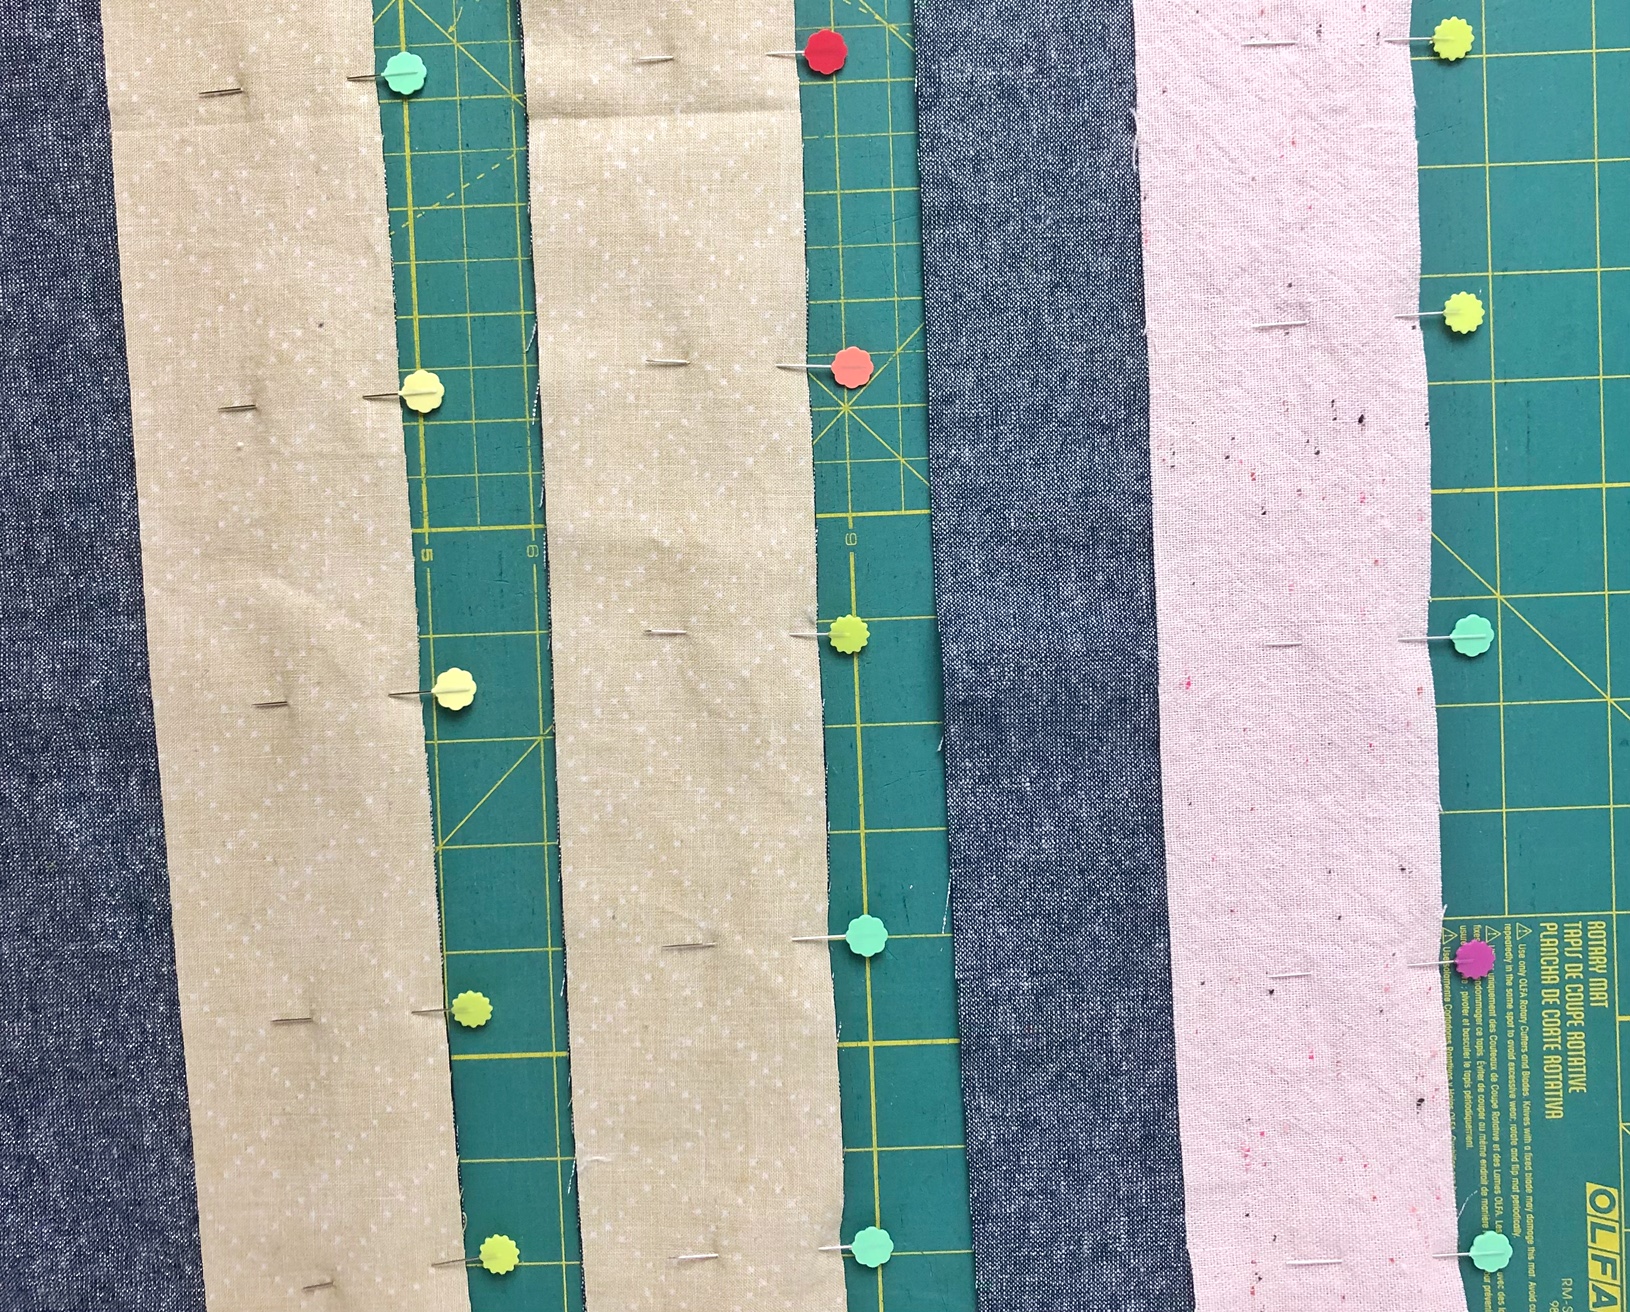
- If you are finding your strips are shifting a bit, make sure you are using enough pins. In addition, alternating which end of the strip you start sewing on can help the strip section shift less.
- Pay close attention to your seam allowance. If you are off by little over 5 strips, it starts to add up to a lot. And if you’re off too much when we start cutting and re-piecing the strips together next month, things aren’t going to line up. (Of course, nobody is perfect and I’ll show you some tricks to get things to line up as best as possible!)
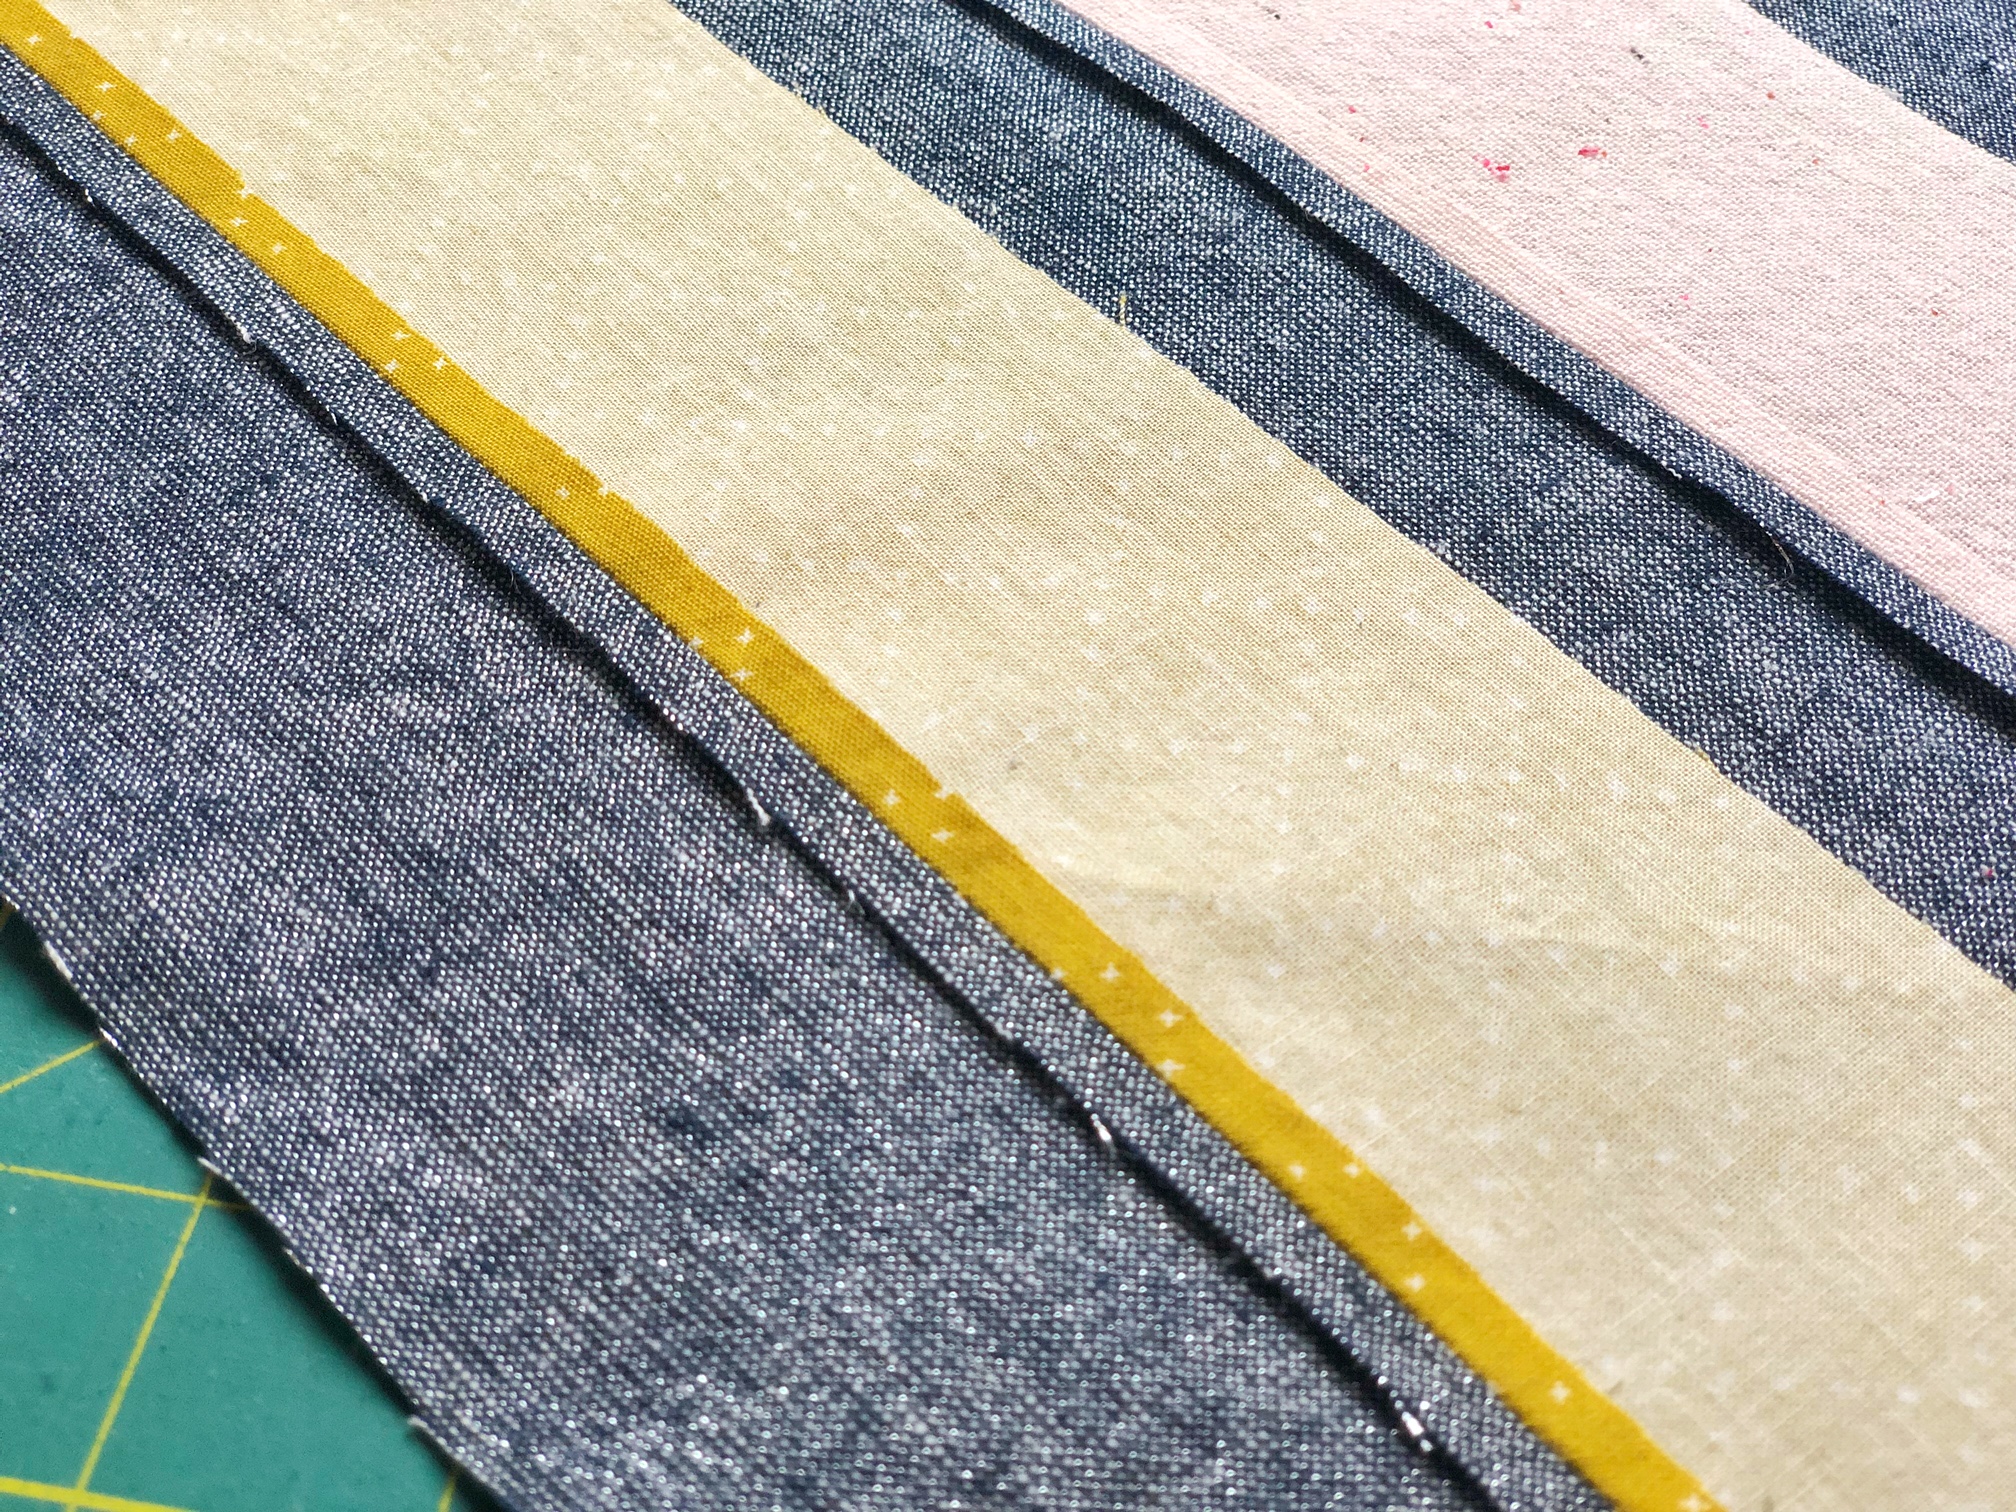
Stop sewing when you get to the end of page 5 in the pattern. We’ll tackle the rest of Section 3 next month!
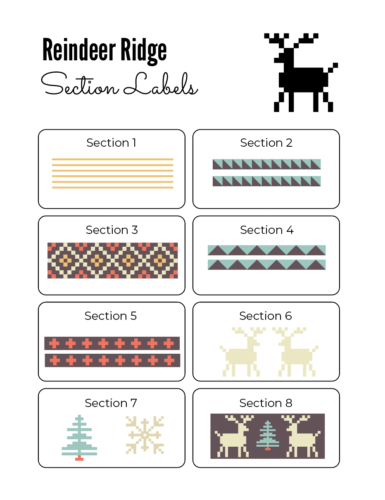
Now that we are starting to get sections put together, I like to keep things organized. I created this little bonus section label printable sheet for you. Click the image below to open.
I have one more treat for you… this month I’m giving away a prize! Up for grabs is a spool of gorgeous purple 50wt Aurifil thread and charm pack of Carkai fabric designed by Carolyn Friedlander. All you need to do to enter is post any progress shot on instagram, using the hashtag #ReindeerRidgeQAL . You don’t need to be caught up, just wherever you’re at in the process. If you’re not on instagram, email me a picture and I’ll enter you that way 🙂 Entries will close on the last day of February and I will randomly select a winner on March 1st.

If there is anything you’d like more detail on, don’t hesitate to reach out and ask. I can’t wait to see all of your blocks start coming together!
