Happy New Year and welcome to the official start of the Reindeer Ridge Quilt Along! If you haven’t read the pre-quilt along post, I recommend reading that first. It has lots of info about the quilt along and ideas for colors and layout.
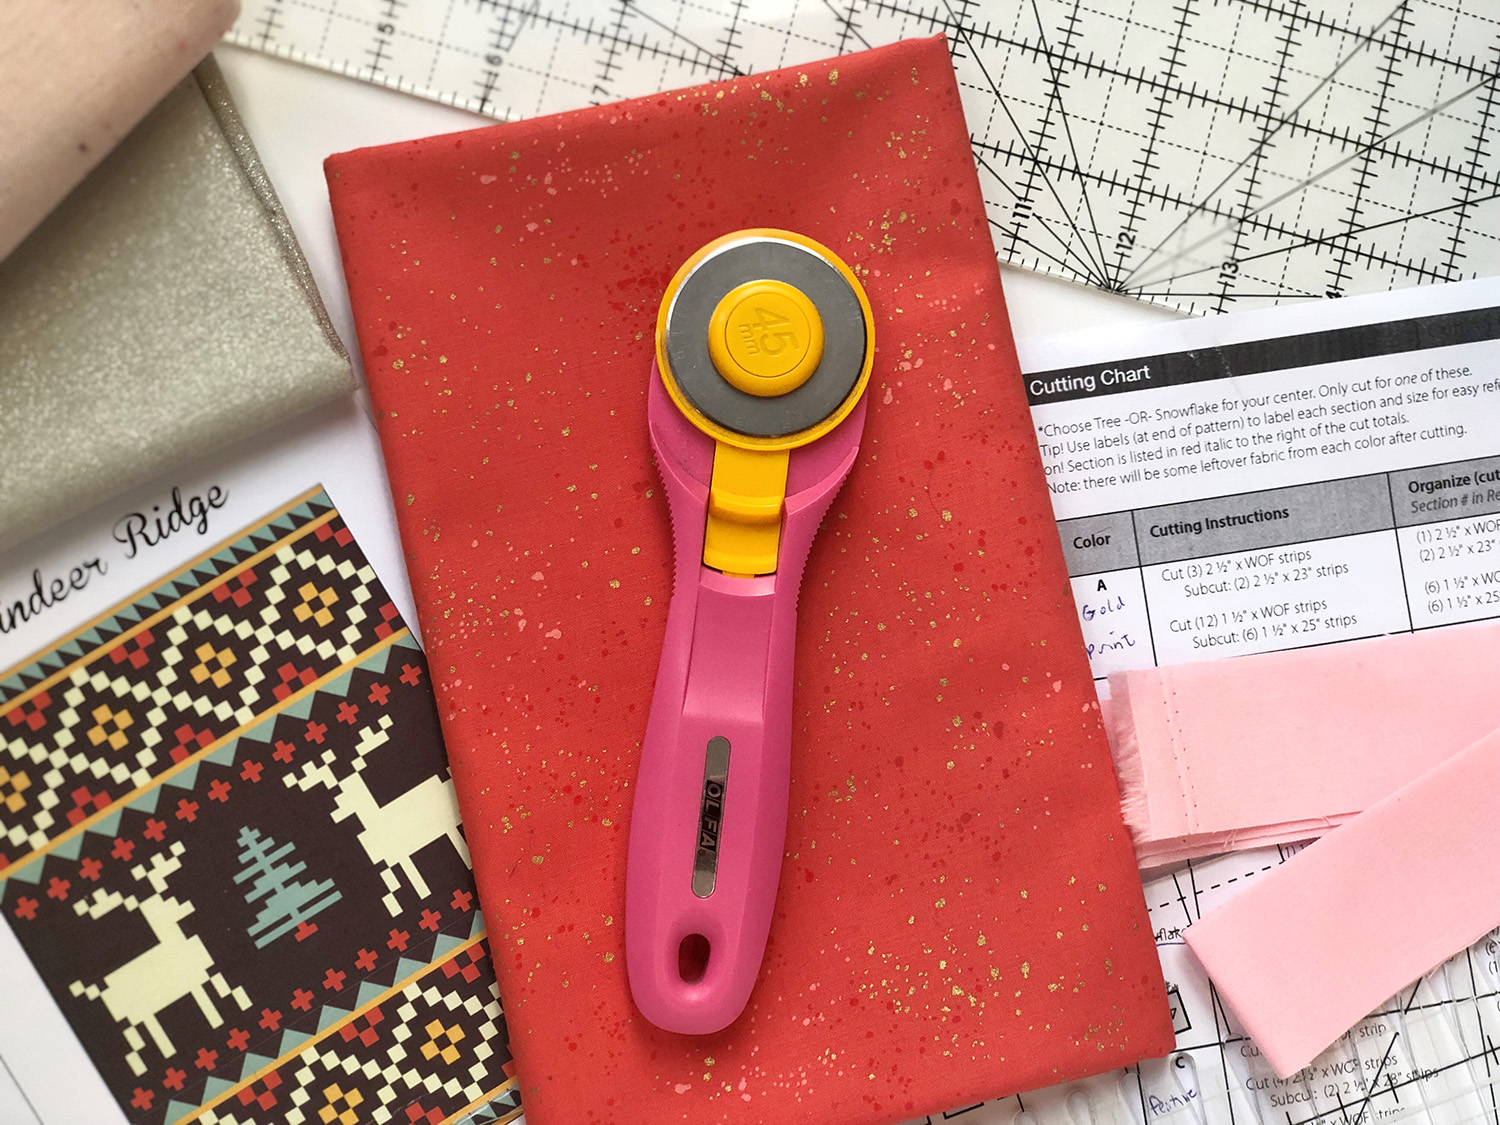
I’m so excited you are here to join in for this quilt along! This month is all about cutting (yay?!). I’ll admit cutting is not my favorite part of the quilting experience, BUT I am much happier when I get everything cut out first, and then I can spend the rest of my time sewing! I’ll give you some cutting tips and tricks to help make this step as easy as possible.
Now, just because I like cutting everything first doesn’t mean you have to. The pattern has the complete cutting guide in the front, but also has what pieces you need for each section, so if you want to go month by month, that is fine too! And if your fabric hasn’t arrived yet (I know I’m still waiting on one color!), starting out the quilt along with cutting is a great way for all of us to get caught up and all ready for our first month of sewing in February!
So let’s get to it!
Before you start cutting, make sure you know if you are going to use the tree or the snowflake for your center block. I like to highlight which one I’m using so I don’t accidentally cut out both when I’m in my cutting groove!
The cutting chart is separated by color, so I just work my way through, starting with Color A. If you look at the cutting chart for Color A, you’ll see there are Cutting Instructions and an Organize section. After you follow the cutting instructions, you should have all the pieces listed in the organize section. The labels in the back of the pattern match those pieces. I recommend printing those out now.

Let’s walk through the first cuts for Color A all together to make sure we’re on the same page. The cutting instructions say Cut (3) 2 ½” x WOF (width of fabric) strips.
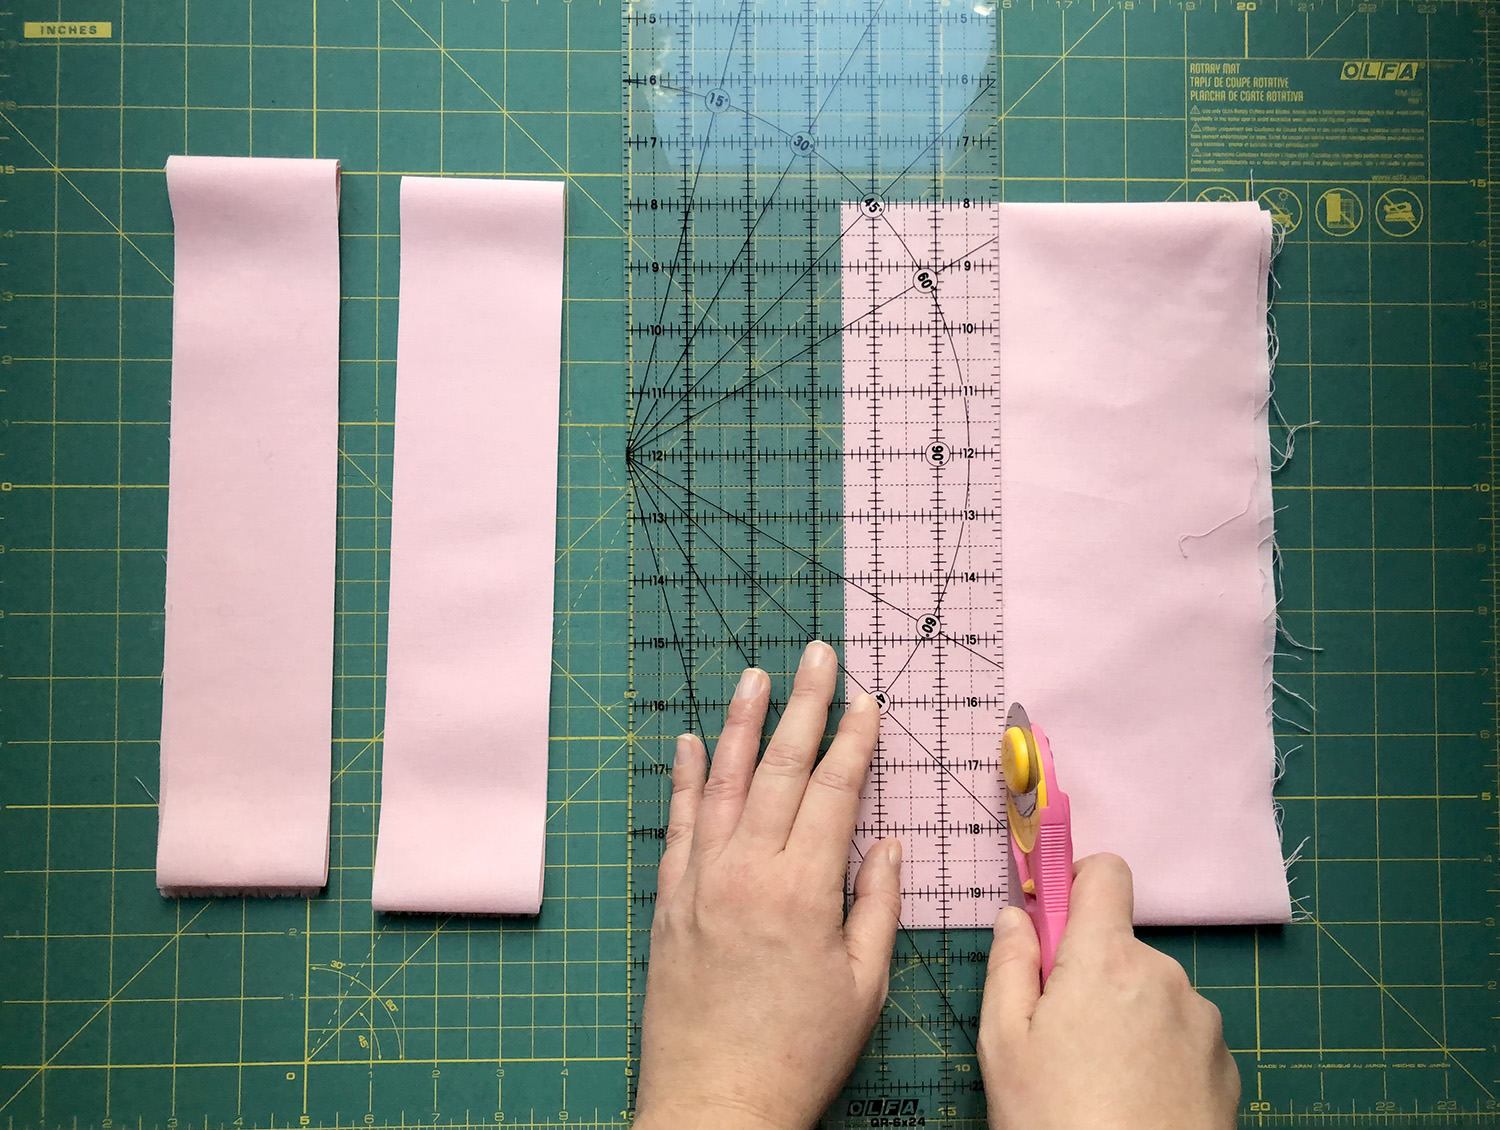
Then Subcut (2) 2 ½” x 23” strips. This means take (1) 2 ½” x WOF strip (that you just cut) and cut it down to only 23” long. I like to lay out my strip on the cutting mat to cut with my long ruler.

The extra leftover length will be for the scrap bin (or save it for use in a pieced backing!). Repeat with one more WOF strip.
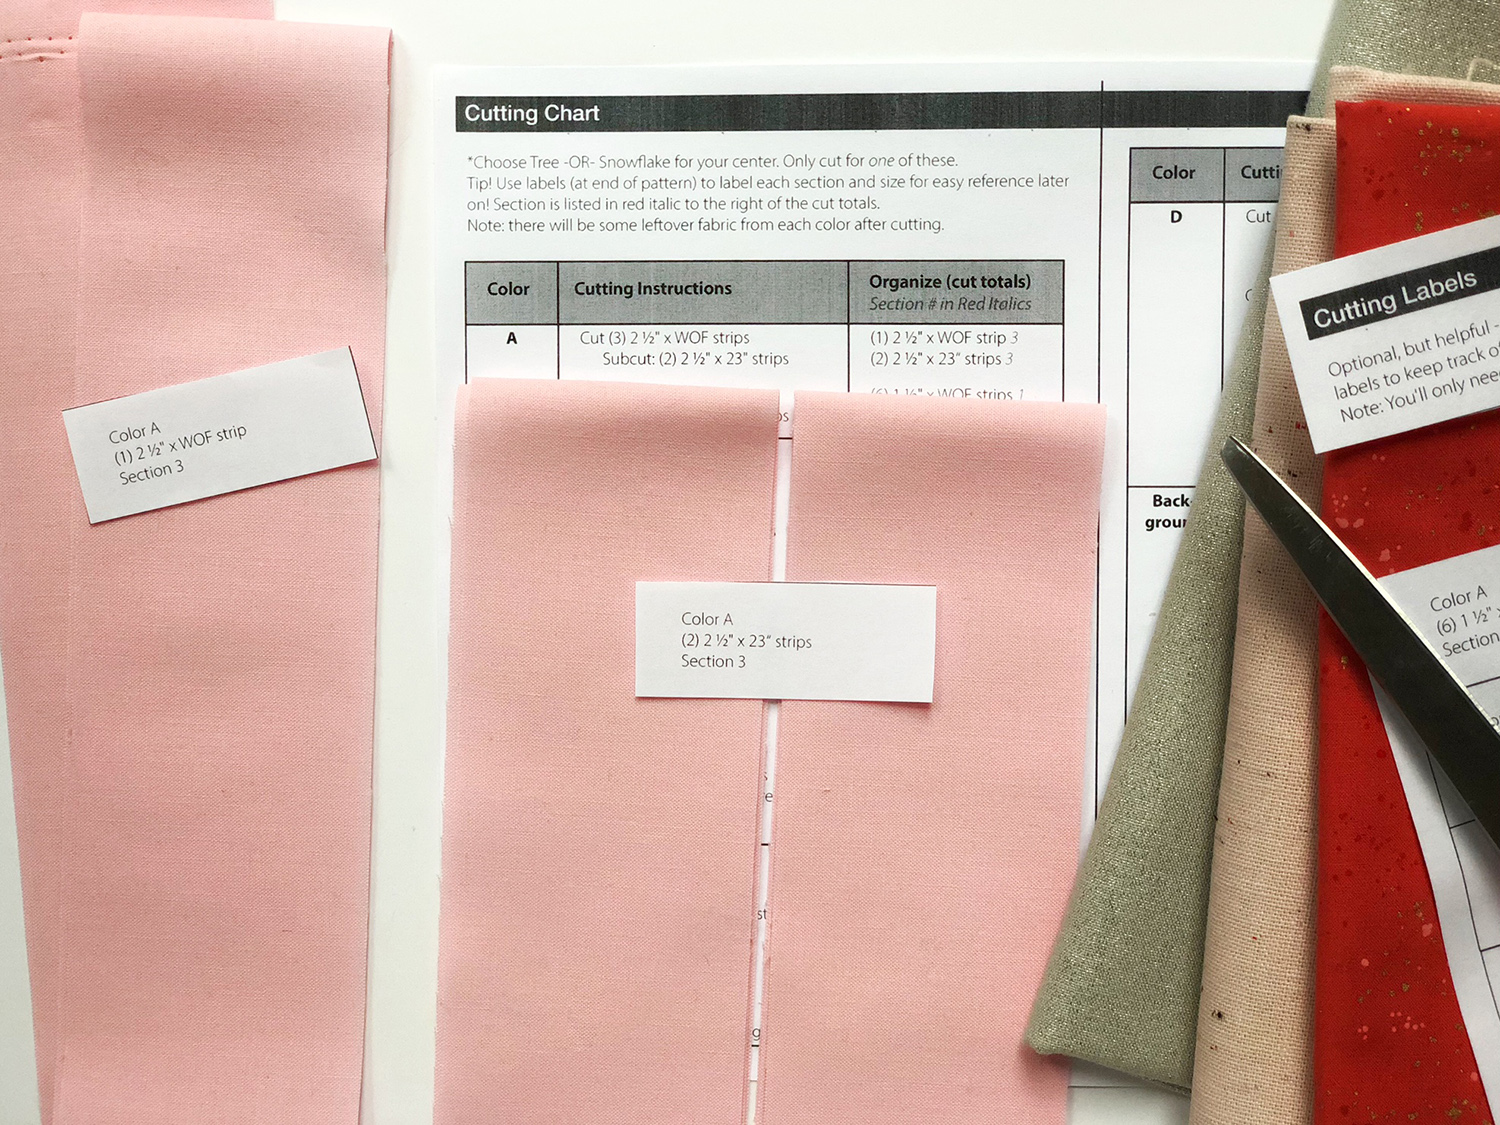
Now looking over at my Organize section, I should have (1) 2 ½” x WOF strip and (2) 2 ½” x 23” strips. Attach the labels to those and we’re ready to move on to the next cuts!
Cutting Tips
Many parts of this pattern rely on cutting long strips and strip piecing. I think it makes cutting and piecing faster! Instead of cutting and sewing individual squares, you are sewing together longer strips and then cutting them all together.
Although strip piecing is fast, cutting and sewing long strips can be a bit tricky. Here are a few tips to help make the job go a bit smoother.
Tip 1: Make sure your rotary cutter has a sharp blade.
If you haven’t changed your rotary cutter blade in a while, now’s a good time. Having a sharp blade will help keep your cuts crisp and accurate.
Tip 2: Use spray starch (or alternative)
I had never used any kind of spray starch before making this quilt. I just kind of let the fabric do what it wanted. But I found it so helpful in making the fabric stiff and stable for cutting long strips. I like using Best Press unscented but I know there are other brands out there (do you have a favorite?). There is also a way to make your own with vodka and water (One version I’ve tried is to mix 3 oz vodka with 24 oz distilled water into a spray bottle and blend well)
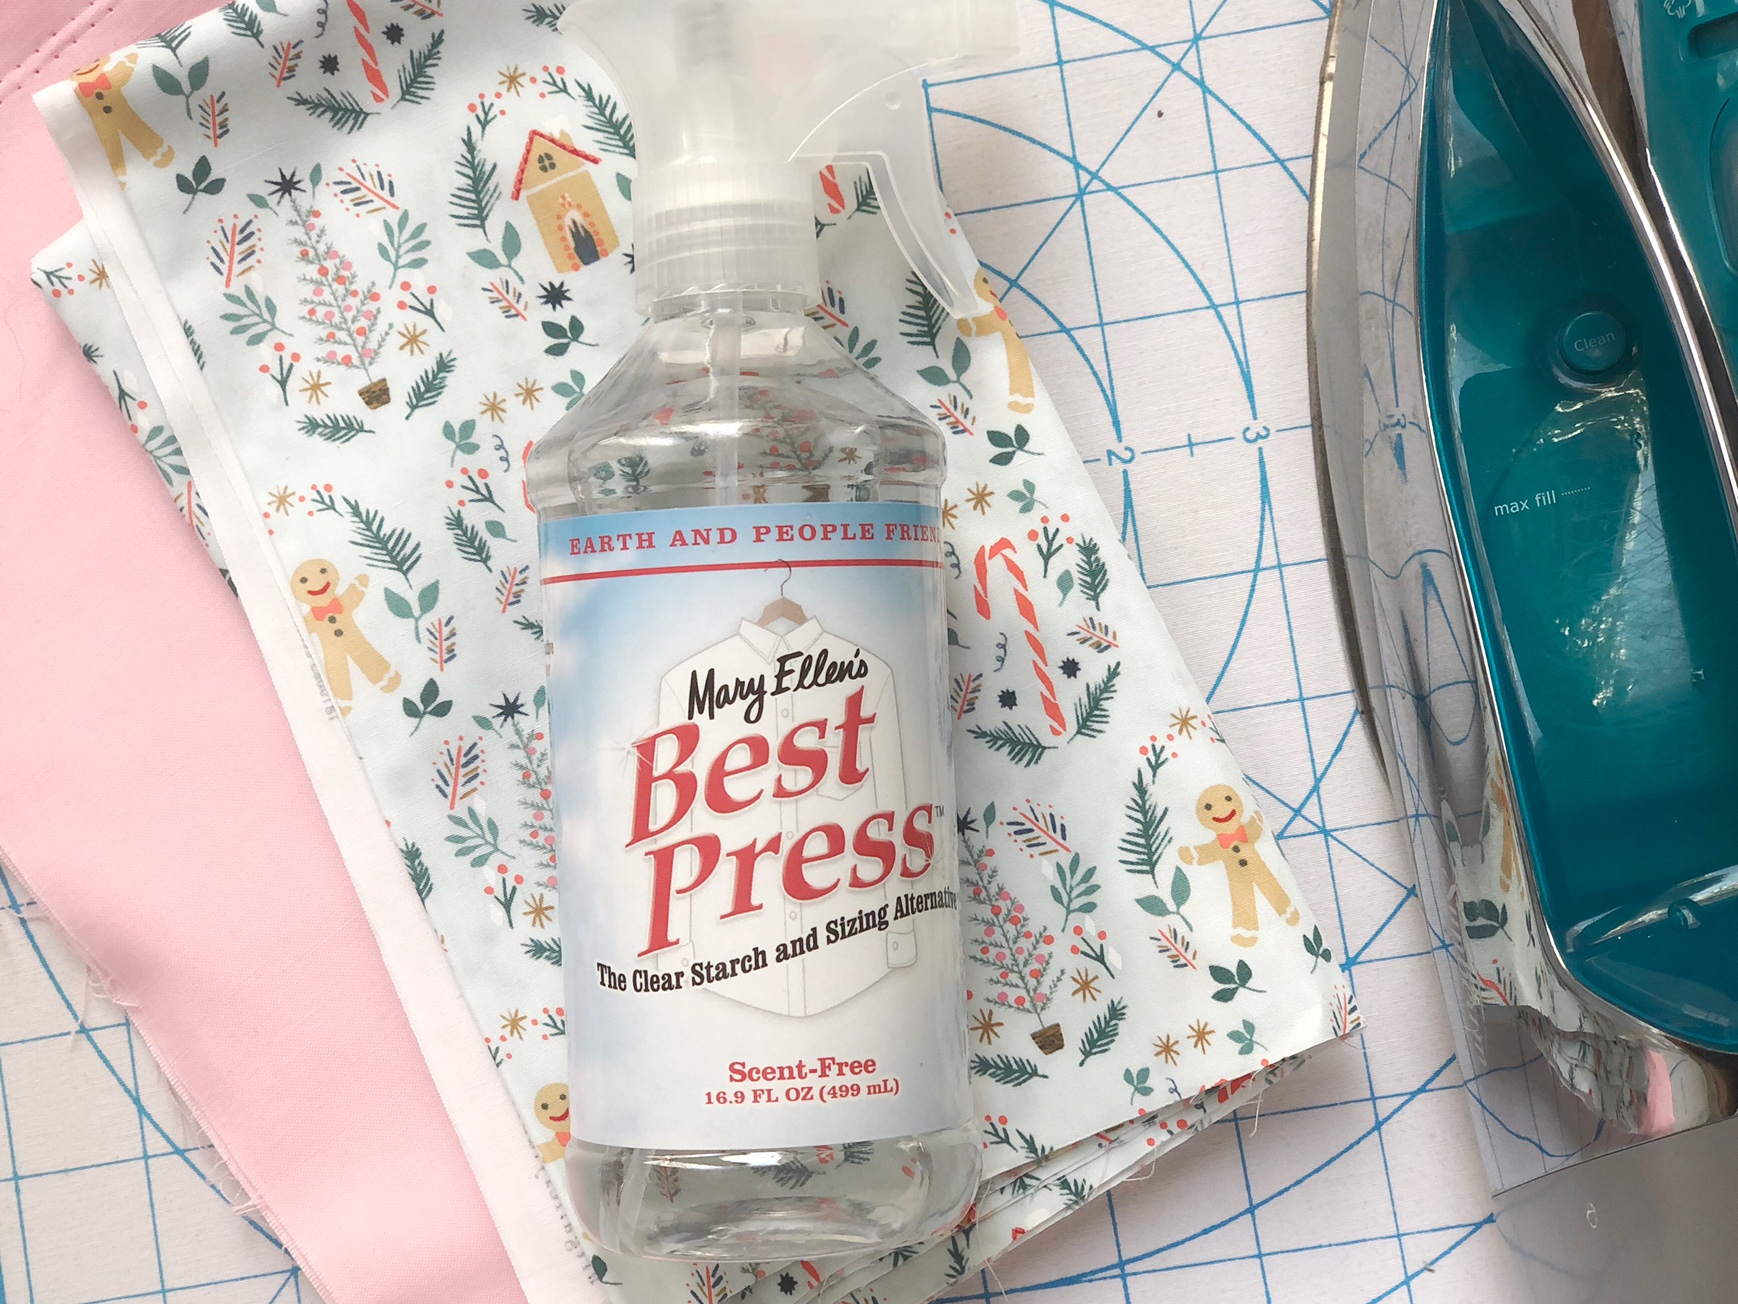
I like to lightly spray Best Press on my fabric and then run a hot iron over it. Some people say to iron on the wrong side of the fabric, just in case of accidental scorching. I don’t pay attention, and so far, it hasn’t come back to bite me, but maybe I’ll work on being more careful 🙂
Tip 3: Don’t move your fabric as you cut
A lot of the cutting instructions have you cut multiple strips at a time. As much as you can, try to just move the ruler and not the fabric. A regular quilting ruler gets the job done, but I decided to invest in a slotted ruler and it makes cutting strips so fast! I use the Creative Grids Stripology ruler. It was a big investment (and there are cheaper brands on the market), but I’ve had a good experience using it. With the slotted ruler, you put the ruler down once and then cut in the slots to make lots of strips. This reduces any possible shifting and it’s so much faster.
I’ll show you pics on how I’d cut with a regular ruler and how I’d cut with the slotted ruler.
Let’s say I want to cut (12) 1 ½” x WOF strips.
Because my fabric piece is longer than my cutting mat, I’ll need to fold the fabric so it can fit on my mat. First, I carefully line up the selvedges and fold it.

Next I fold up the center fold to match the selvedges.

Place your ruler covering the top and bottom folds and make sure they are even. Then cut off the edge to start with a squared up cut. To cut, I use the lines on my quilting ruler rather than my mat.

Then I rotate my mat (try not to move the fabric at this point) so my cut edge is on my left side. That will put me in the best spot to start cutting my strips. Place your ruler on that edge, lining up the 1 1/2″ line on your ruler with the cut edge of the fabric.

Once I cut my first strip, I pick up the ruler and move my strip out of the way, and then carefully place my ruler back down, measuring 1 1/2″ away from the edge.

Continue that process until you have all the strips cut out!
Now for a little demo on using the Stripology ruler for the same cuts.
When I aligned my fabric, I made sure it was on a line with a star icon. (I could have started at 0″, but it was harder to get a pic that way). At the bottom of the photo below, you can see my fingers pointing at the star icons on the ruler. Stars are 1 1/2″ inches apart on this ruler.
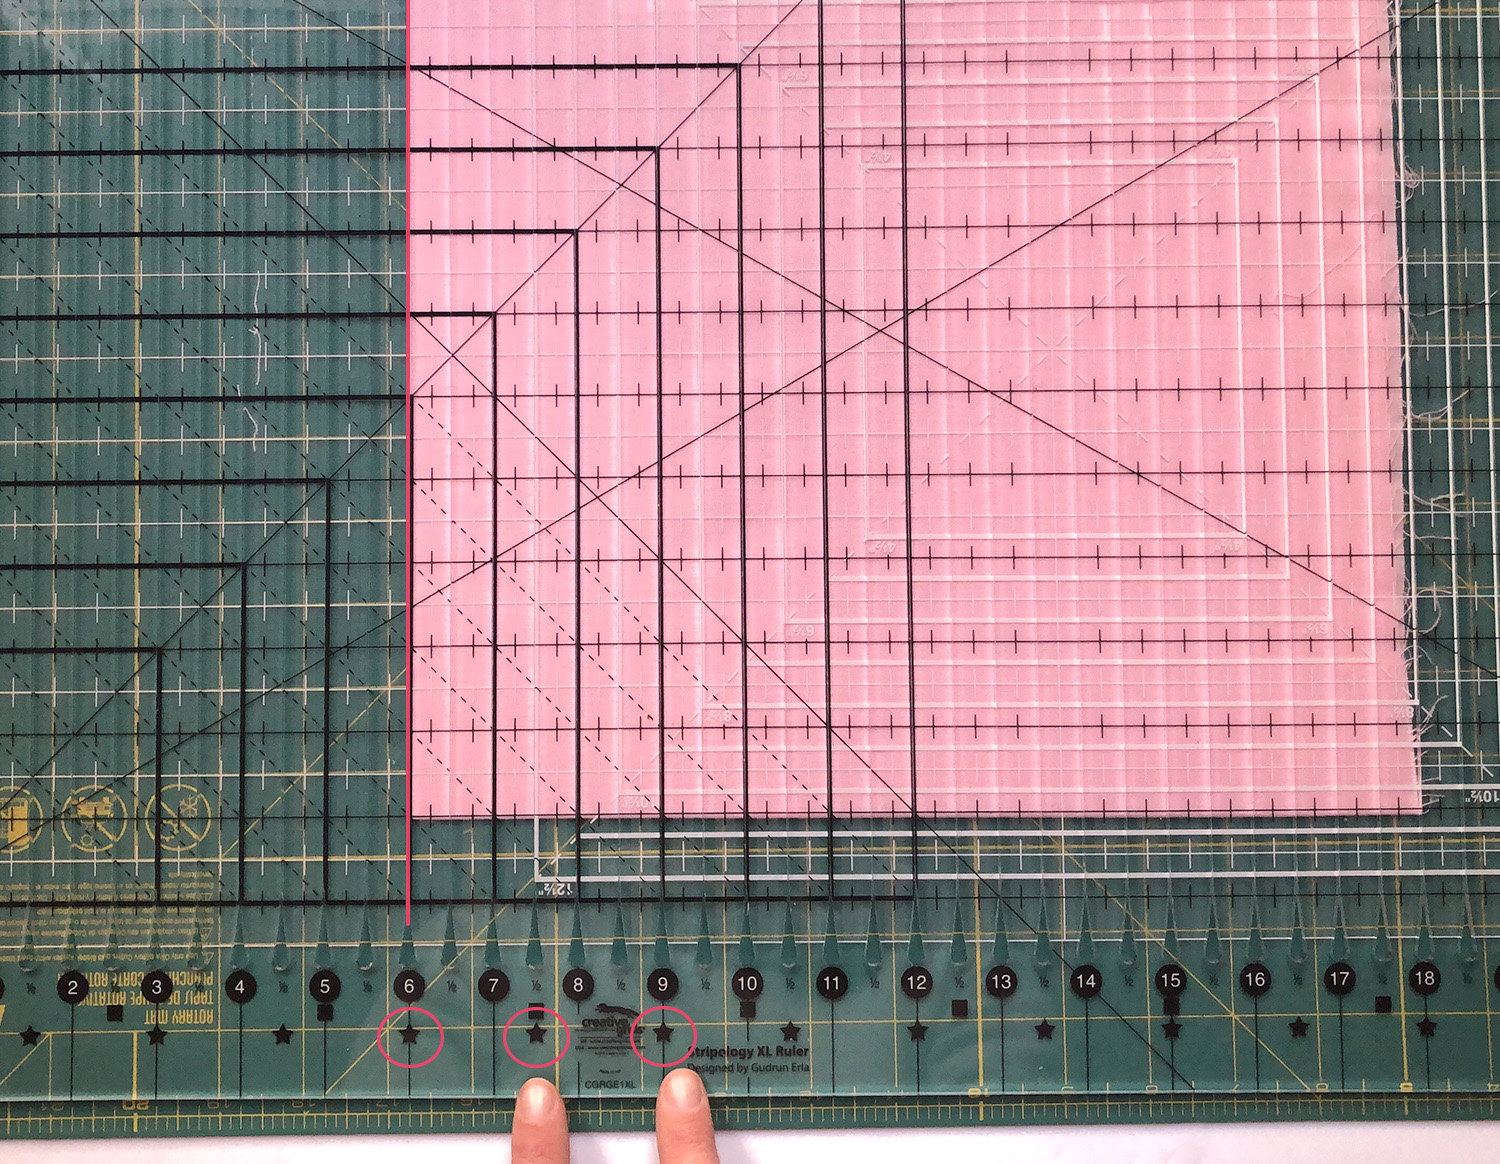
Here’s a little closer view of the stars. I know if I start at a star icon and just cut on every star, the strips will be 1 1/2″. No need to do math or move any fabric out of the way!
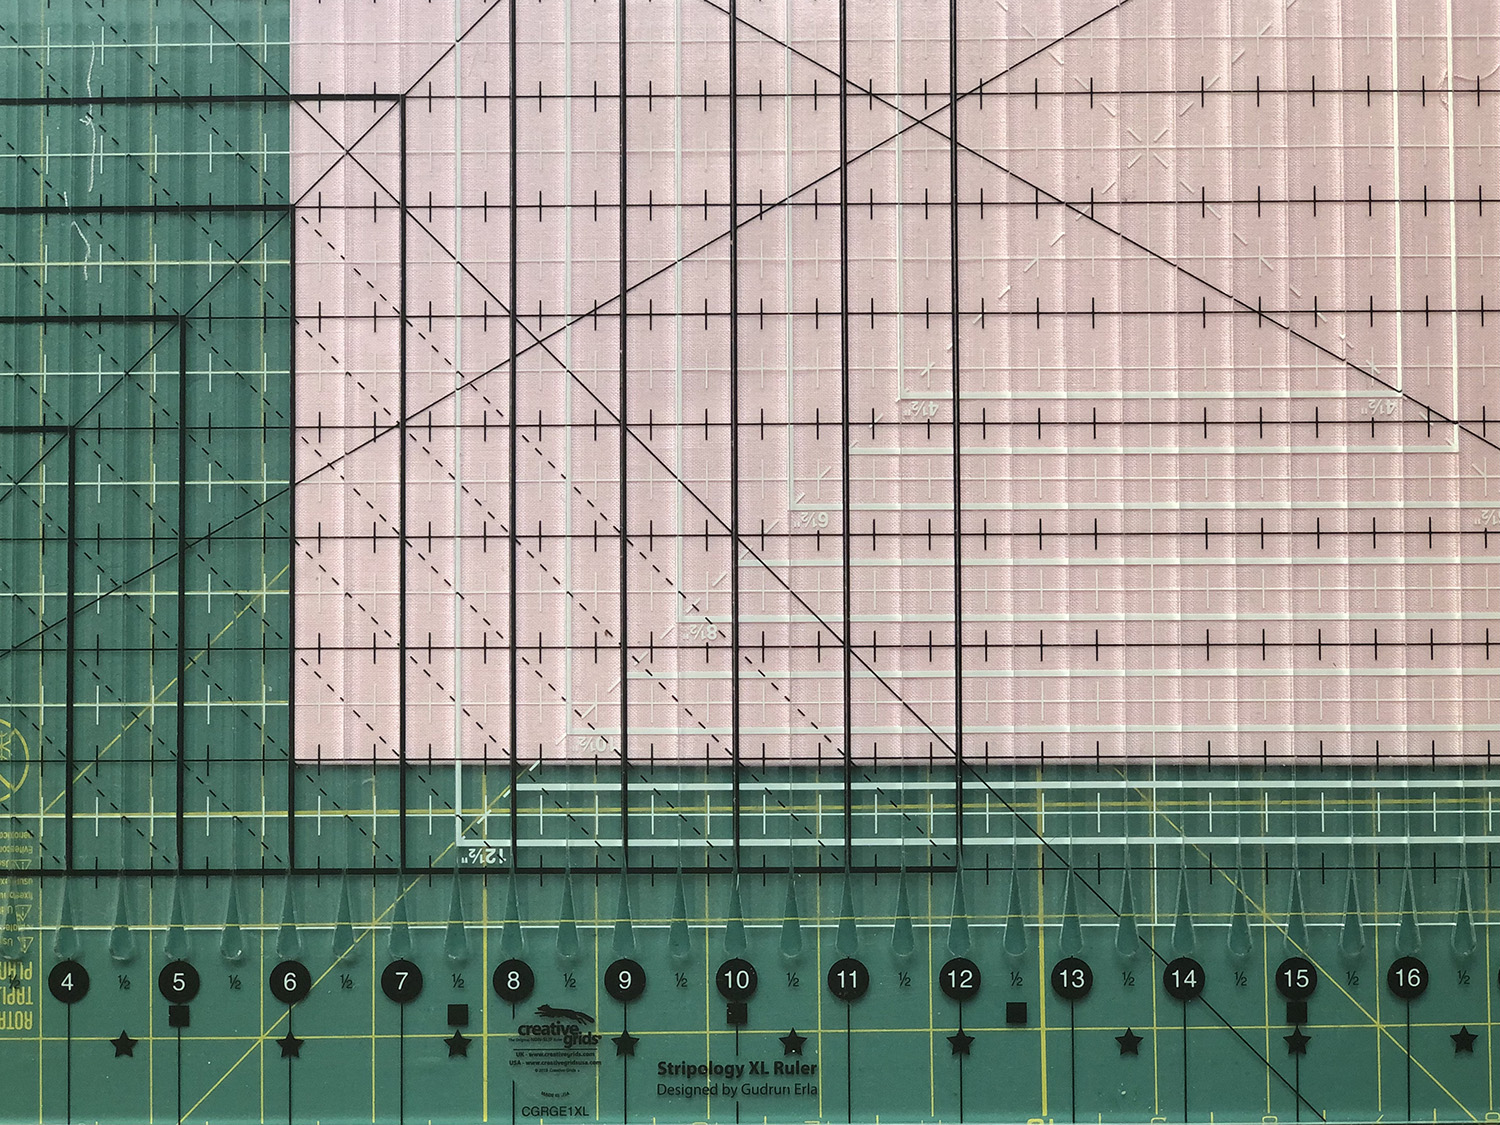
I just insert my rotary cutter into the slot and cut.

Cut at next star.

Move again to next star and cut.
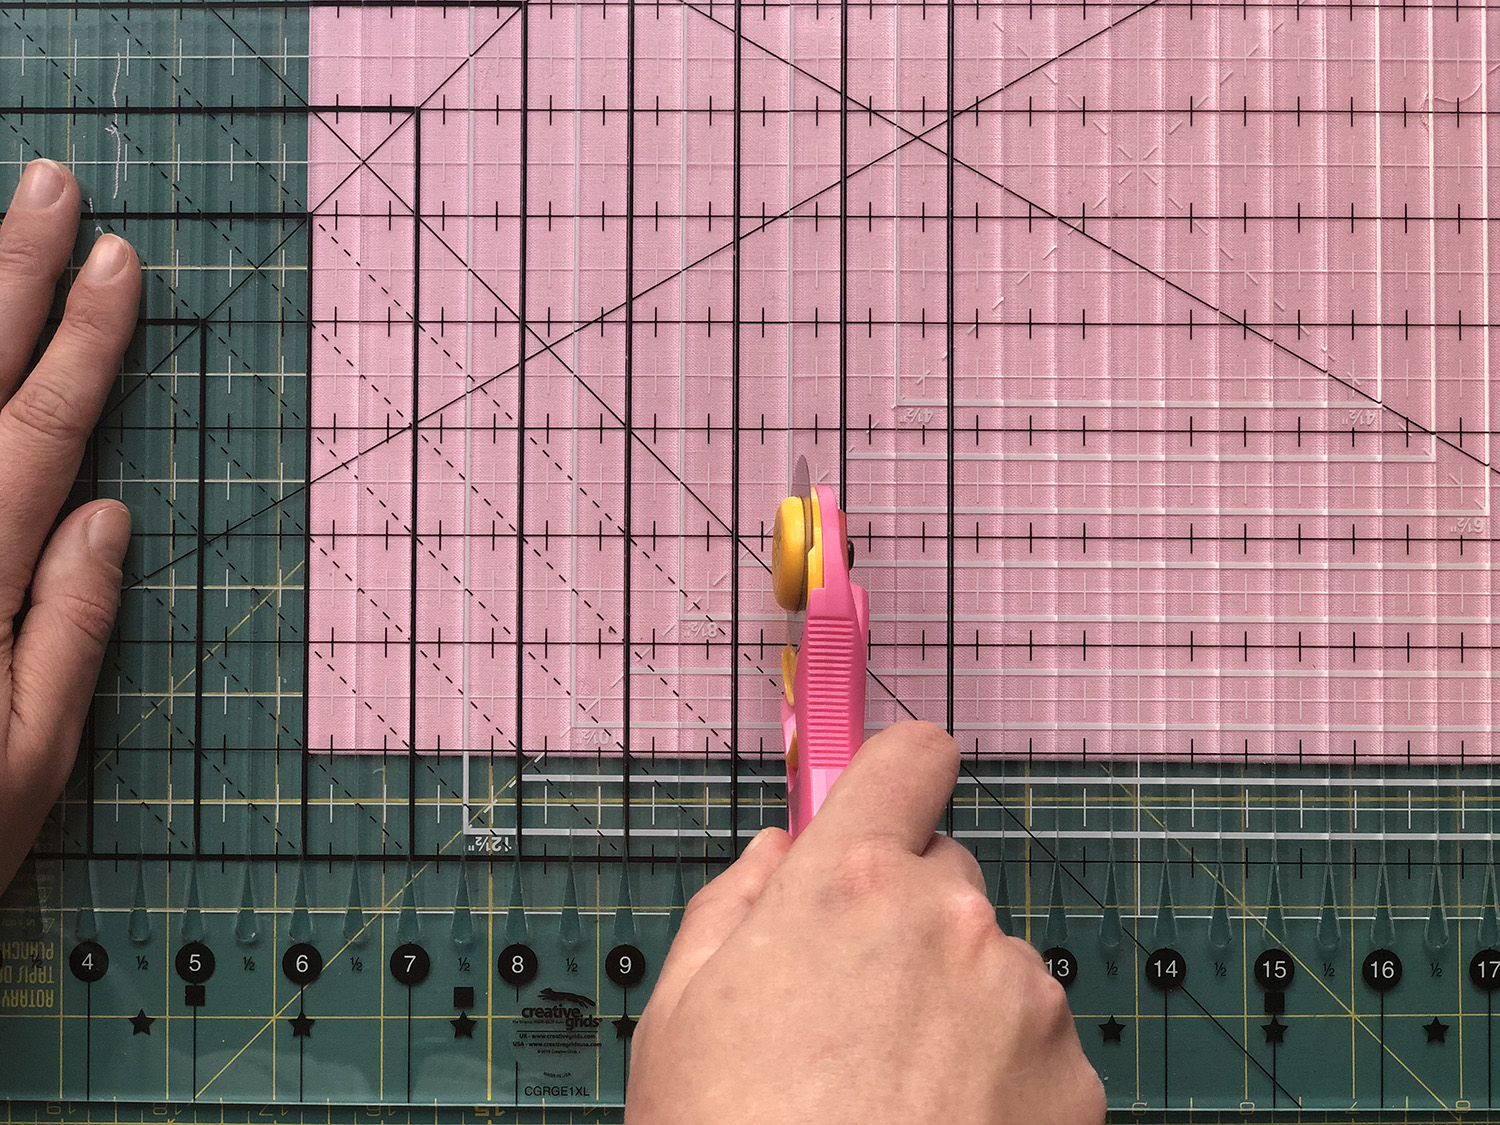
I try to count as I go to keep track of how many I’ve cut. With all the strip cutting in this pattern, this ruler really makes the work go by quickly!
Our goal this month to get all the pieces for the quilt cut out and labeled. I’m also going to organize them together into sections. That way when we tackle sections 1 and 2 (and some of 3) next month, we’ll have everything ready to go!
Time to go cut some fabric! (high fives!).
If you have any questions, please feel free to reach out to me via email: hello [at] michellebartholomew [dot] com or via Instagram.
If you’d like to share how your beautiful fabric cutting is coming along (or share where you’re at) and see what other people are doing, post on Instagram with the hashtag #reindeerridgeqal . I’ll be sharing on stories as well as in my feed. I’m not planning on giving away prizes each month, but I’m trying to come up with a few for along the way 🙂
Quilt Along Schedule:
(December 2022) PreQuilt Along – Planning fabrics. Ordering fabric.
(January 2022) Month 1 – Cutting and organizing fabrics. —-> YOU ARE HERE
Month 2 – Sewing (Sections 1 + 2; Section 3 strip piecing)
Month 3 – Sewing (Section 3)
Month 4 – Sewing (Section 4 + 5)
Month 5 – Sewing (Section 6)
Month 6 – Sewing (Section 7 + center assembly)
Month 7 – Quilt Top Assembly
Month 8 – Finishing
