I was so excited to read that Plum and June are hosting a new monthly Quilt Photography Workshop linkup! It’s a great way to get a monthly challenge and continue to improve on my photography skills. I’ve been really burned out on photography lately, but this inspired me to take my camera out for *fun* for the first time in over a year (in my non-quilting life, I’m a wedding photographer).
I can’t think of a better morning than taking some fabric photos. This is my pull for my picnic game quilt. Coral, mint, and grey hanging out together outside= perfection.
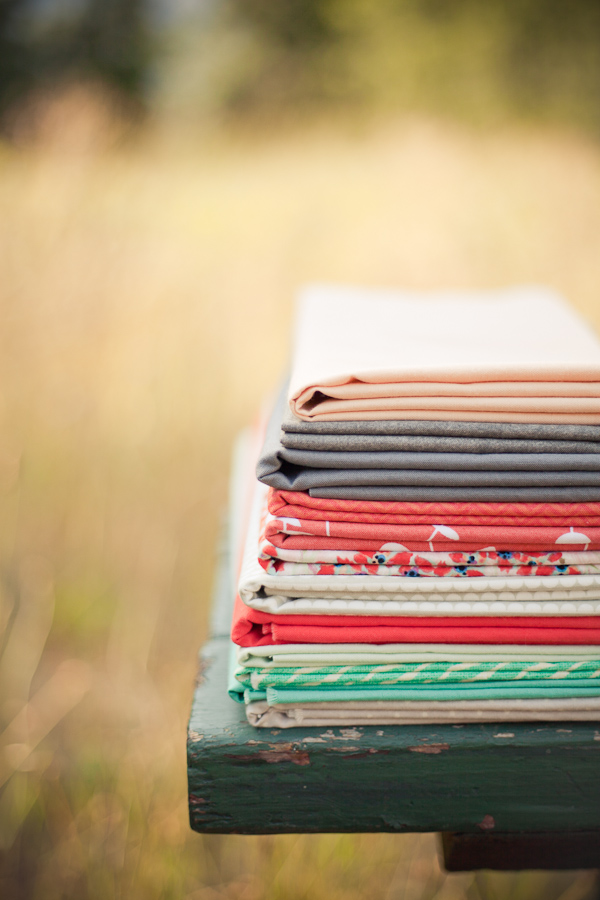
fabric is sooo much friendlier than bridezillas 😉 Just kidding to my brides out there. You are all fab.
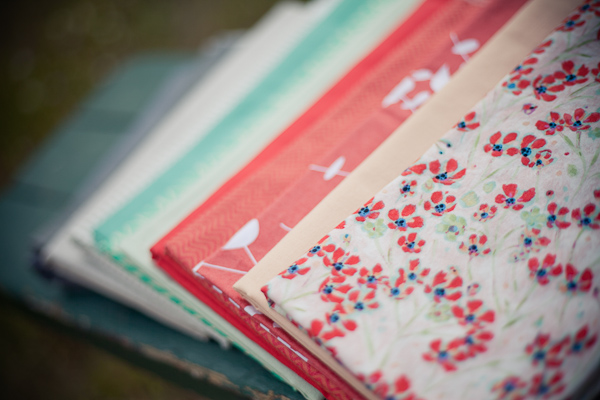
All of these were shot with my Canon dslr and a super cheap lens. I’ll talk a little more about it below. You don’t need super expensive equipment to take great photos! Even an iphone or point and shoot can take great photos if you know a few tricks (a future post perhaps?)

I edit every photo I put out (even ones from my iphone). Nothing fancy, but basic pushes in exposure, contrast, sharpness and white balance correction. I think I definitely lean towards a clean edit that looks like what my eye sees. But I am probably guilty of pushing things a little bit and sacrificing exact colors.
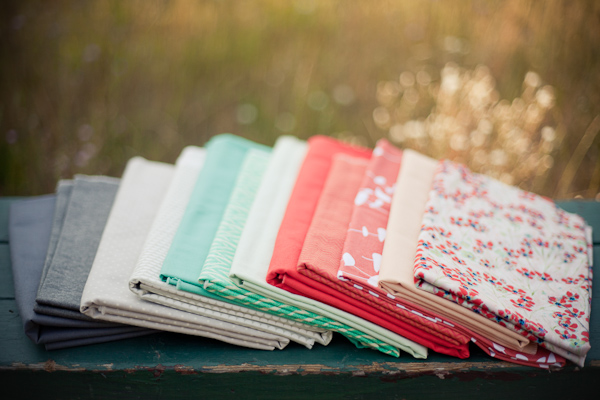
I thought it might be fun to share a little extra info for anyone who is beginning to get more serious about their photography. I know it won’t apply to everyone, but I hope it is at least interesting :)…
Depth of field is super important in photography. A few things can affect this, including how far away you are from your background. But as far as camera settings go, this is controlled by your Aperture settings. It will help you get that nice blurred background you see in professional photos and will elevate your photo from “nice shapshot” to “daaaaaang”. Here is an example of identical photos with different aperatures.

Everyone has different tastes but I much prefer the photo on the right. Yummy blurry background goodness, yes!? This is achieved with a wide open aperture. This is the lowest number (called f-stop) on your aperture setting. If what I just said made no sense, check out this post; it has a great explanation of the basics and where you see the settings on the camera.
Below is an example of the same photo at a bunch of different apertures. It is a great exercise in getting your manual settings correct when you are learning to use your camera. I put the aperture (f-stop) number next to each for reference.
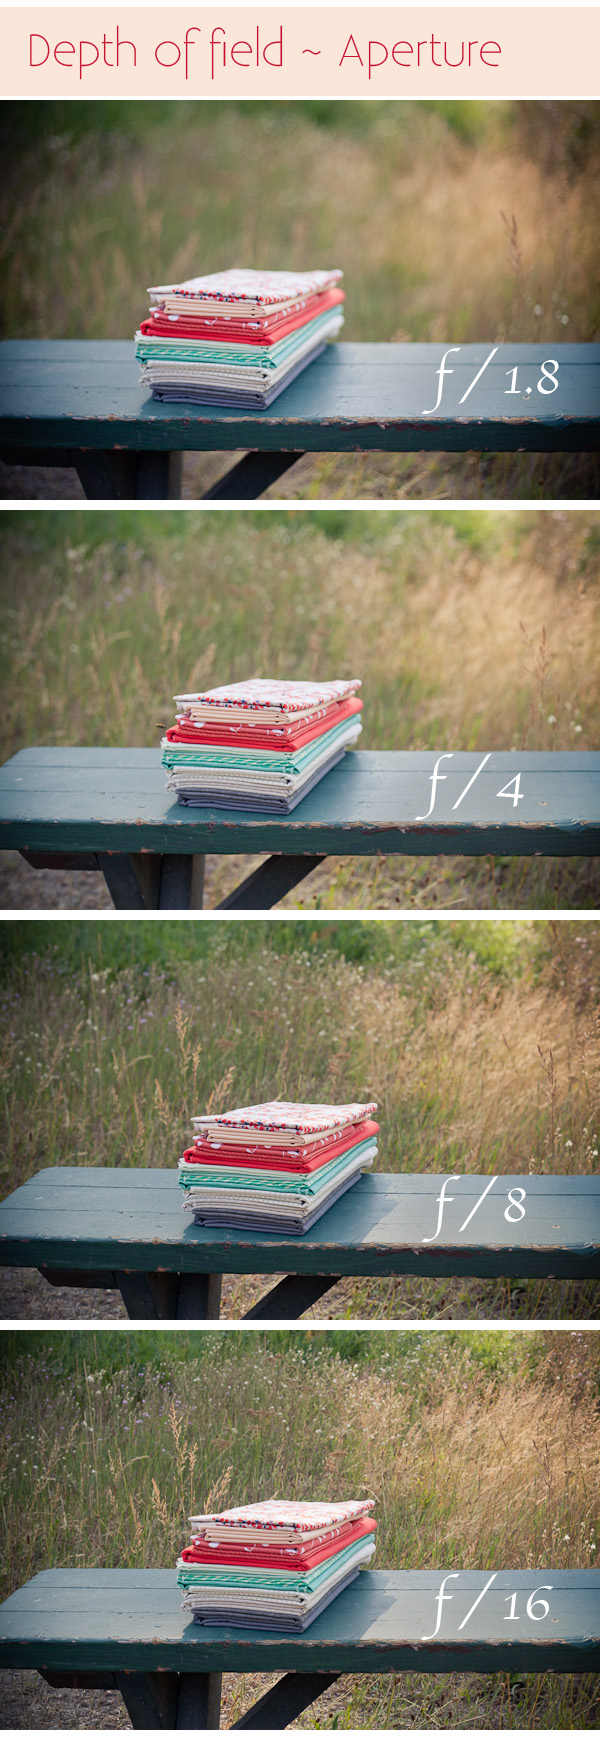
Experiment with different apertures and what feels best for you. If you have a wide open aperture, it can hurt the photo quality slightly and you might have a harder time getting tack sharp images. So the rule of thumb is go to up a stop or two (increase the aperture to the next number) from the lowest. That being said I prefer to go as wide open as possible… always 🙂
If you have a Canon dslr, let me introduce you to your new best friend, the nifty fifty. All of these photos were shot with it. If you, too, crave that ultra blurred background, this is the cheapest way to get there. Disclaimer: this is a difficult lens to get used to. I almost threw it away when I first got it. Expect a ton of not-in-focus pictures at first. But if you are willing to put in some practice and careful studying, it is the cheapest way to get this look (and I’m always willing to put some work in for more fabric money ;))
Hopefully that wasn’t too confusing or technical. I’d be happy to answer any of your photography/camera related questions. As a newbie quilter I don’t have much to offer the quilting community in terms of expertise, so hopefully I can make a little contribution with what I do know 🙂

Wow. I am a newbie to photography, well er, lack thereof completely. Your pictures are stunning! Nicely done!
Thanks for the kind words! I really enjoy your blog and am excited you paid mine a visit 🙂 And I wouldn’t have guessed you were a newbie from your photos. You have a really good eye!
Beautifully explained and so true. Michelle your photos are wonderful and I’m pleased you are enjoying photography with your quilting hobby.
Thanks Karen! It has been such a breath of fresh air to apply photography to my quilting. Are you participating in this link up? I know your photos would be amazing.
Thanks for this post. I’m just starting to learn about what my camera can do so I appreciate the tips!
Glad the tips were helpful! I hope you enjoy learning about your camera. At first it can be a little intimidating, but then it becomes addicting (at least for me :)).
Lovely photos! You’ve done a great job with explaining what to do… takes me back to my college classes.. Thanks for sharing your work. Your quilts are cool too…
Thanks for checking out my work Teresa! I really enjoyed your photography post as well. Isn’t fun breaking out the camera after a long break?
Daaaaaang! I knew there would be gorgeous photos over here!
Thanks for the depth of field tips, i really must flick the switch to manual on mine and get over it!
Thanks Snips. You should do it! You will never go back!
awesome coverage of aperture! just shooting the same subject over in different f-stops was a real eye opener to me of it’s effects. you’ve done a great job demonstrating this. I love how everyone is covering different aspects in their posts.
I invested heavily in the 24-70mm/2.8f because I love to go wide open, too! but I also love my 50mm fixed macro that I’ve had for years. all fun.
I remember that exercise being a huge eye opener for me when I was starting out as well. I could talk about lenses all day! 🙂 I use the 24-70 2.8 in my wedding work. It is fabulous!! I also rent the 35 1.2 for weddings (can’t afford it yet!) and it blows my mind. Those fixed lenses just have a little extra magic don’t they?
I just checked out your blog…I loved your take on the challenge, your tips were SO helpful! I’m already looking forward to what everyone comes up with next month.
the nifty fifty is the lens I use probably 99% of the time too! Your photos are great – I love the colors – is that straight out of your camera or through editing?
Yes! That lens makes me happy. I edited these in lightroom, but the lighting was pretty great, so I didn’t have to do much. Thanks so much for hosting this. It has been a blast so far!
These are GORGEOUS photos. I found this post very useful, and it encouraged me to take my camera off “auto” when I did the photos for my post today. (I still don’t understand aperture, depth of field, ISO, etc but I figured out how to change them on my camera. A start!)
Those fabrics in the field of grass. Be still my heart. So, so pretty.
Thanks Laura! I really could just sit in that field all day 🙂
So glad you made the leap off of auto!! Your images using aperture priority mode were really nice. Once you get comfortable with that setting, you’ll be ready for the wild adventures of full manual mode! 🙂 I also really enjoyed your styling tips. That is one of my biggest weaknesses I’m determined to improve.
If you enjoyed writing this post, you should totally write more quilting photography posts. I don’t know how wide your audience would be for something as specific as photoshop processing and/or actions, but I would be ecstatic to hear whatever you might have to say about tit. Great post!
Hi Daisy! I actually have a whole list of quilt/photography topics I had planned on writing about, but I wasn’t sure if there was any interest on it as a topic. I do really enjoy it! Perhaps this is the push I need to begin a series on it?! 🙂
I came and read this from the NQB group, Michelle – so glad it was highlighted – very helpful! And I do have a 50mm lens for my Canon but have also been frustrated with it, and now I see I need to take it out and try again : P
So glad you found me through the NQB group! It has been so fun meeting all the new bloggers on there! Oh, the 50mm. So many tears shed because of that thing. It really is a tricky lens. I found it works best when using manual focus, but I do have to take more pictures to make sure I’m getting the exact focus I want. Definitely give it another go! 🙂